
12.3.2.1. Saving
To save the newly created ‘masterpiece’ select the Save option from the File menu or press (Ctrl
+S) shortcut keys. A file dialog window will be presented to the user with the options for where to save the photopack.
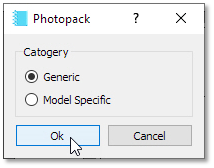
Generic or Printer Specific options, generic selection would save it in a folder that allows all printer models to access it whereas the printer specific will only be for the printer model currently selected.
The ‘foto’ folder is the parent folder for the photo packs and there are many subfolders for all the photo packs categories.
In our case we would want to save it in the multiple folder and save it as example.spp.
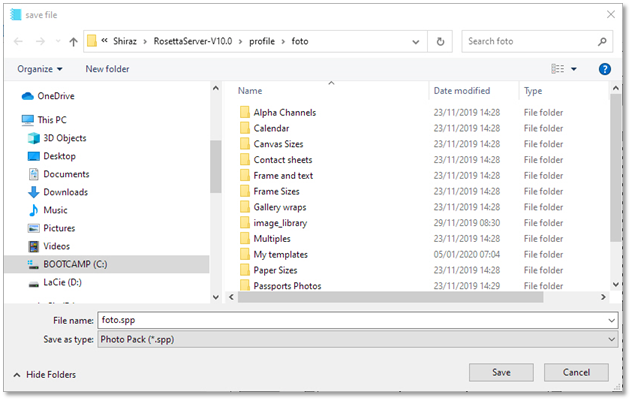
Once we have saved the photo pack, it would appear in the list of photo packs in the Focus module on the exit from the editor. As default the file extension of .spp is assigned to the filename.
An example of the use of the photo pack just created can be seen below.
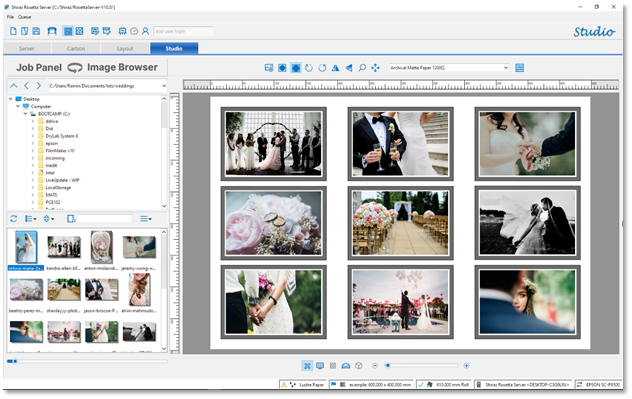
This is just one example of the kind of templates that can be easily made with the editor. With a bit more creativity and patience it is possible to create very nice and usable range of photo packs of your own.