12.3.2. Photo Pack Design
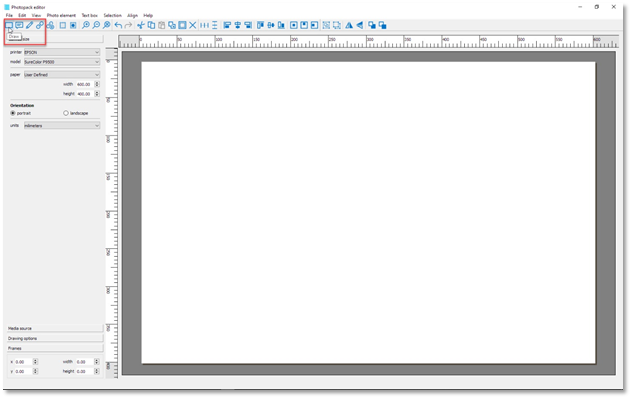
Now that we have setup the canvas properties, we can start the main task of designing the actual photo pack. The first step is to select the Draw operator from the tool bar.
Now place the cursor somewhere on the canvas and click and drag. A transparent rectangle will now be drawn. Once you are roughly happy with the size release the mouse button to stop the drawing.
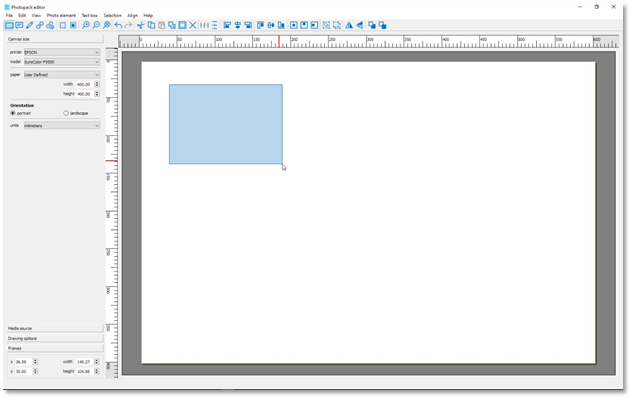
The cell just drawn will now be displayed in light blue and its corner and centre points highlighted.
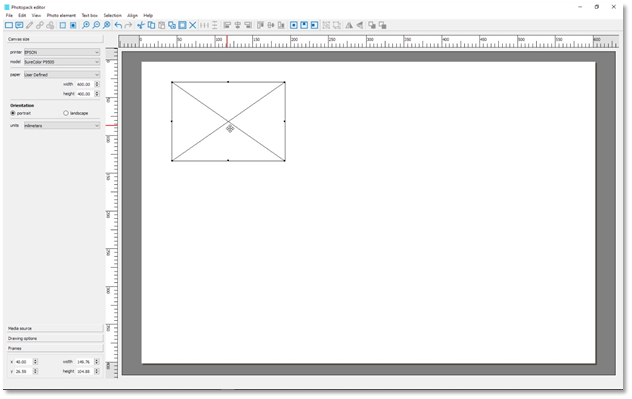
At the end of the draw the editor state is changed to the select mode that allows the user to resize or move the cell. Place the cursor somewhere inside to move or near the corner or centre points to resize. To size and position the cell exactly, enter the corresponding parameters in the entry boxes provided.

The origin of both the canvas and the cell is based on their top left corner. The editor automatically limits the size and coordinates to within the canvas boundary.
Next, we want to add a 6mm dark grey border frame around the picture box. To do this select the picture box and then click on the Frame tab and set the border size and colour as shown below.
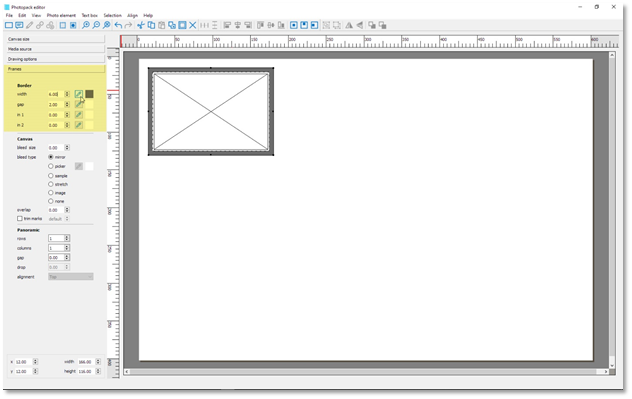
We have also added a 2mm gap between the border and the photo box for effect. In most cases we would want to create copies of the cells and place them at regular intervals (step & repeat). To do this we must first decide the gap between the repeats and enter this value in the Duplicate offset entry boxes.
In the example here we would want to have a gap of 40mm in the X direction and no change in the vertical direction (Zero Y move). So, the offset value would be (X:200, Y:0). The reason that the X value is 200 is because the offset is calculated from the left edge to left edge, so in this case the width of the cell which 160 is added to 40 to give us 200. Of course, the Y is 0 because we want the repeats on the same vertical level.
Once you have entered the offset, make sure that the original cell is selected and press the Duplicate icon on the tool bar as illustrated below.
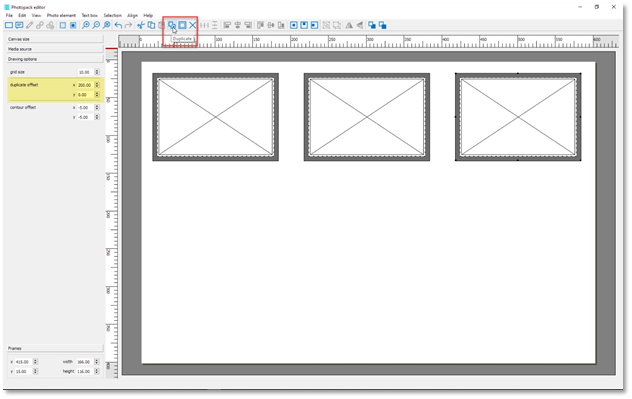
To create more duplicates simply click on the Duplicate icon again. This would result in another copy with respect to the last one just created.
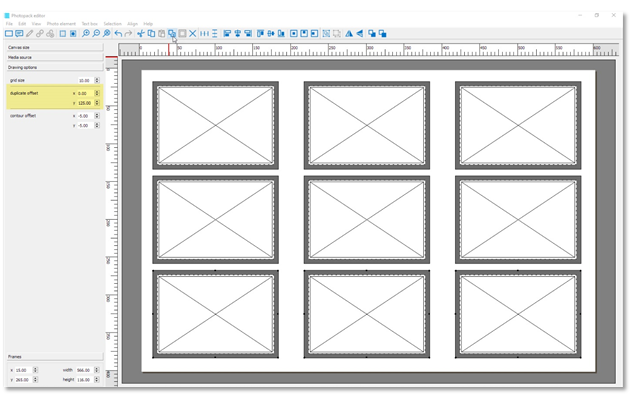
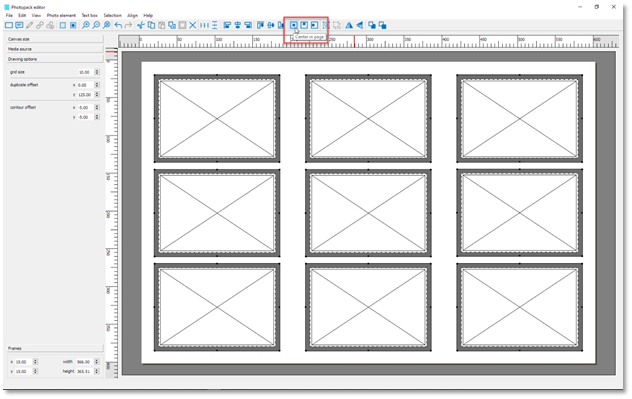
The next stage would be to repeat the entire row in the vertical direction. To do this we would first need to select all the cells by pressing Ctrl + Click on each cell or pressing the Select All (Ctrl + A) shortcut keys. Selected items will be highlighted with their control points.
Now we would again need to enter the offset values for the repeats. This time the X offset would be zero and, assuming that we would want a gap in the vertical direction. Click the duplicate button twice to create three rows in total.
Note: If you make any mistake at any stage simply use the Undo (Ctrl + Z) & Redo (Ctrl + Y) icons located on the tool bar.
In the final stage of our design process we would want to make sure that the whole design is exactly centred in the photo pack. This is easily done by selecting all (Ctrl + A) and then clicking on the Centre in page icon on the tool bar.