
8.2.1.1. Printflows
We will now cover the actual creation and management of the Printflow widgets. These widgets are setup for individual print queues and can are made in the Template section of the queue Setup tab as shown below.
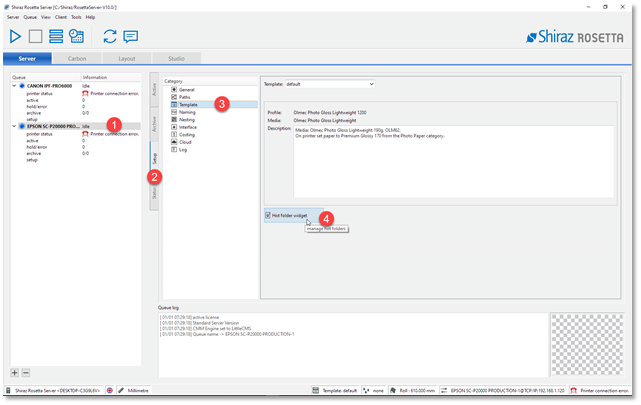
Select the printer queue then click on the Setup tab now select the Template option and finally click on the Hot folder widget button. The system will now pop up the window shown below.
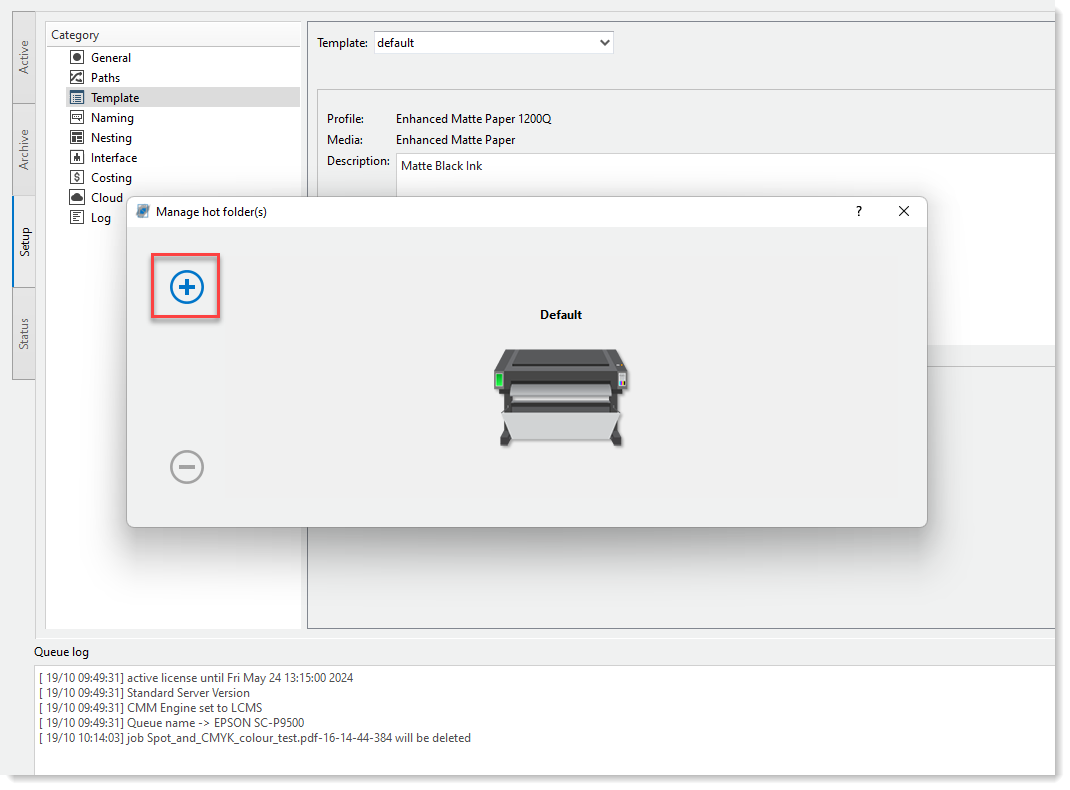
Here you can either double-click on the Default Printflow to edit it or click on the Add icon to create a new one based on the Default template.
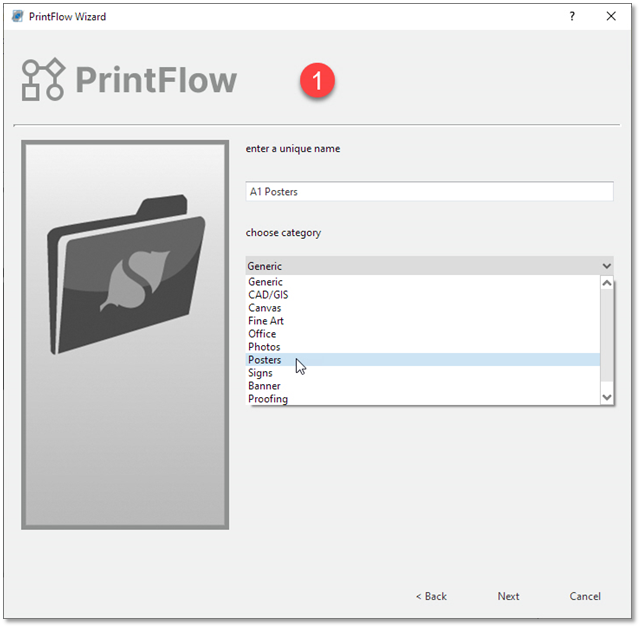
Printflow Wizard will now be started that allows you to create a new Printflow in a few easy steps. the first information required is a name for the Printflow and optionally its category.
In the next step (2) you can select an existing printflow as the starting point under the Preset and optionally enter a description for it.
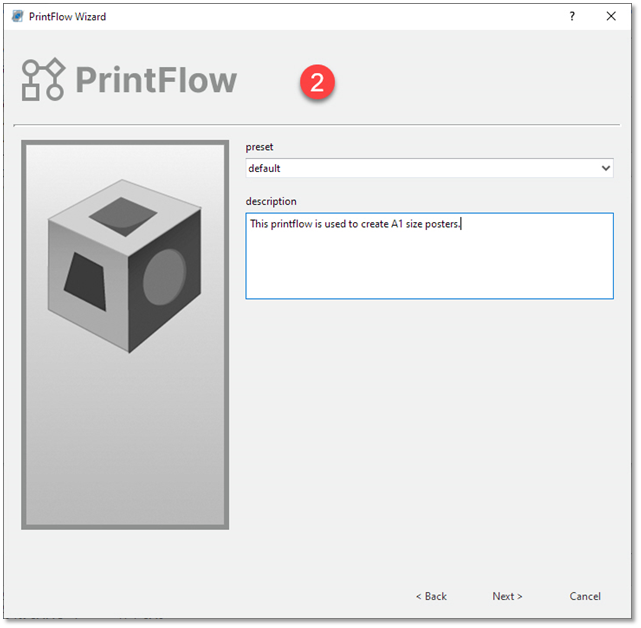
Click Next to go on to the next stage. In the step (3) is where we set the job parameters required.
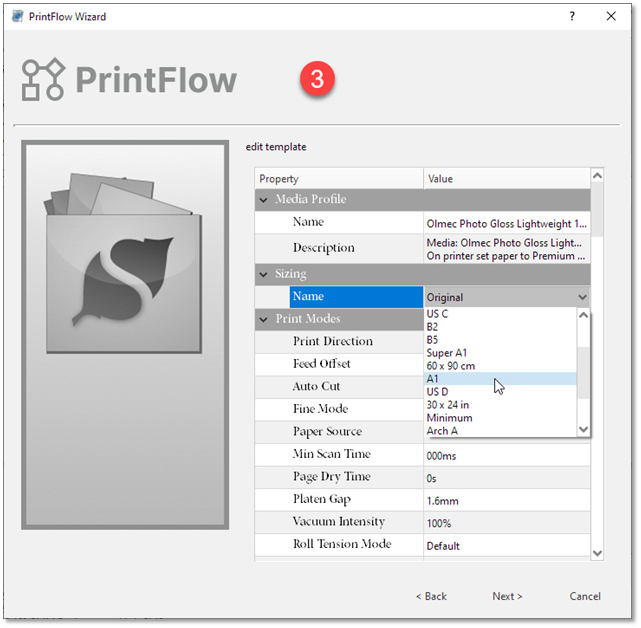
The various parameters are organised into logical groups each with their own headings. In this example we have select the Size to be A1. Other important parameters that can be set here are the Media Profile, Print Modes, job marks and many others. Once you have set all the parameters needed click Next to go on to the next step.
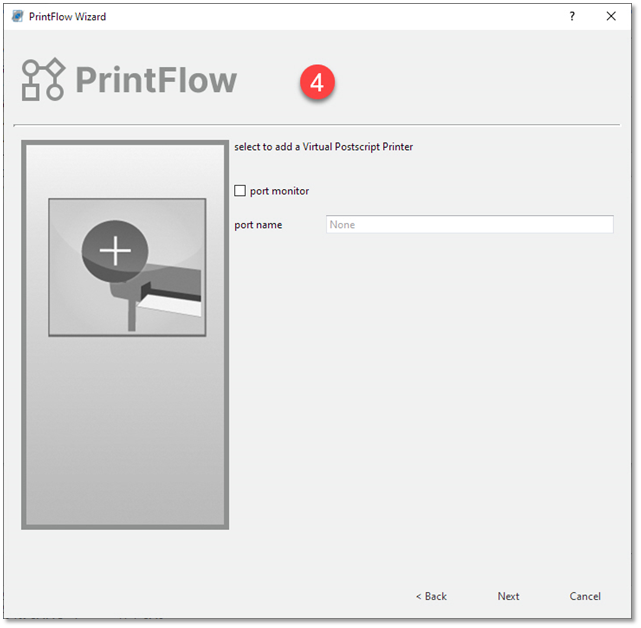
Step (4) is an optional one and allows you to create and associate a Shiraz virtual printer driver to the printflow being configured. This allows users to print directly from their favourite design applications to the Printflow. We will skip this stage in our example. Click next for the final step.
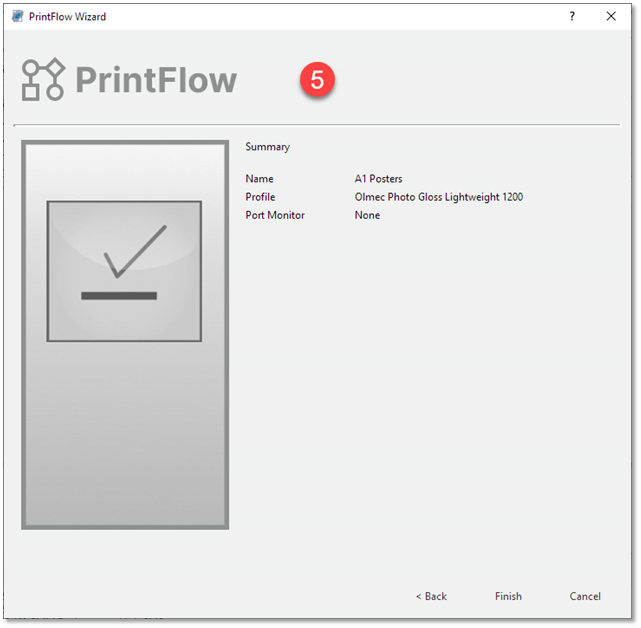
Finally, you will be presented with a summary of the Printflow and can click on the Finish button to finalise the process. The newly created along with the Default Printflow will now be shown. Additional Printflows can be added in the same manner that was detailed above.
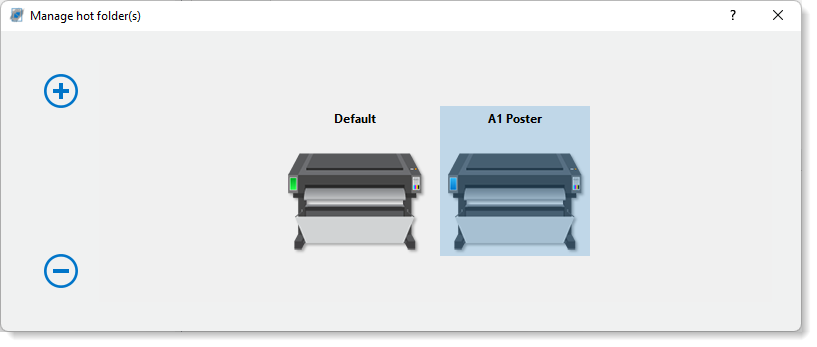
To remove any Prinflow simply select it and then click on the remove icon. Please note that the Default template cannot be removed.