
8.2.1.2. Job Submission
Once the printflows that you require are created you can close the window and go back to the Carbon client where the newly created printflows will be listed.
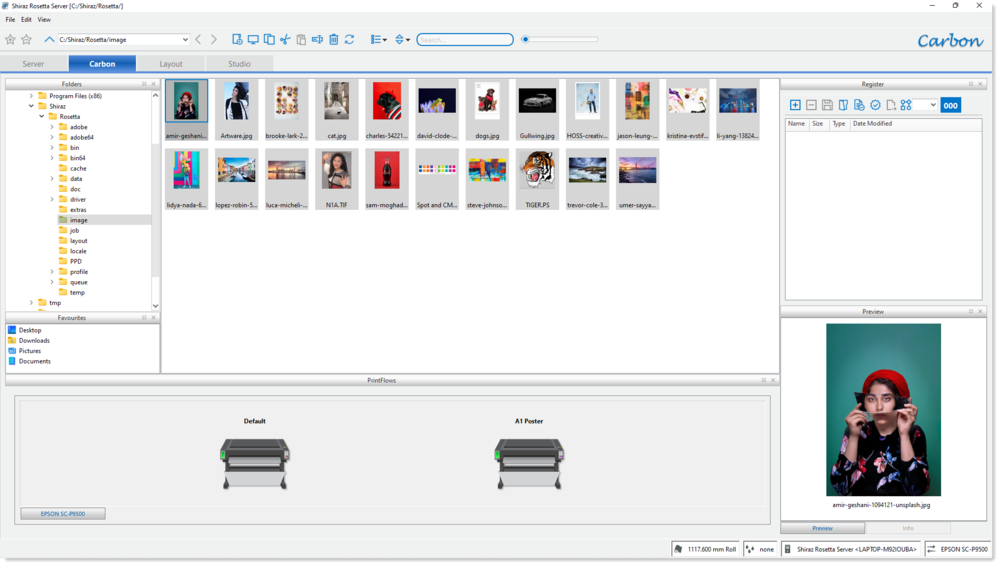
In the Printflow section you can change your selected queue by clicking on the queue buttons and each queue will show the list of its printflows. Additionally a shortcut to the hot folder for the select queue is also created and placed on your computer Desktop. You can use this shortcut icon to drop images onto for automated hotfolder operation if needed.
To submit jobs using the printflows first select the images required and then either drag & drop them onto the required printflow or click the printflow number on the keyboard that then pops up a dialogue as below.
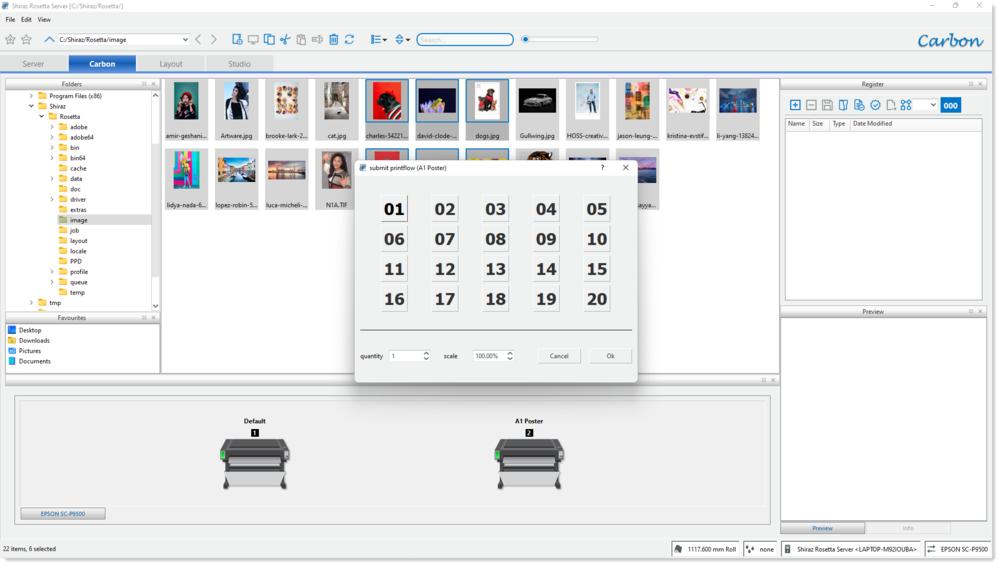
The dialogue presents the user with a list of values that you can click on in order to dynamically set the quantity required for the selected images. If the required quantity is more than 20 then you can enter the actual value required in the corresponding entry box. You can also change the default scale factor for the jobs to the value needed. In the above example we have clicked on the quantity 2. Once the selection is made the system will then submit the images with the selected quantity to the currently selected printer queue using the printflow parameters.
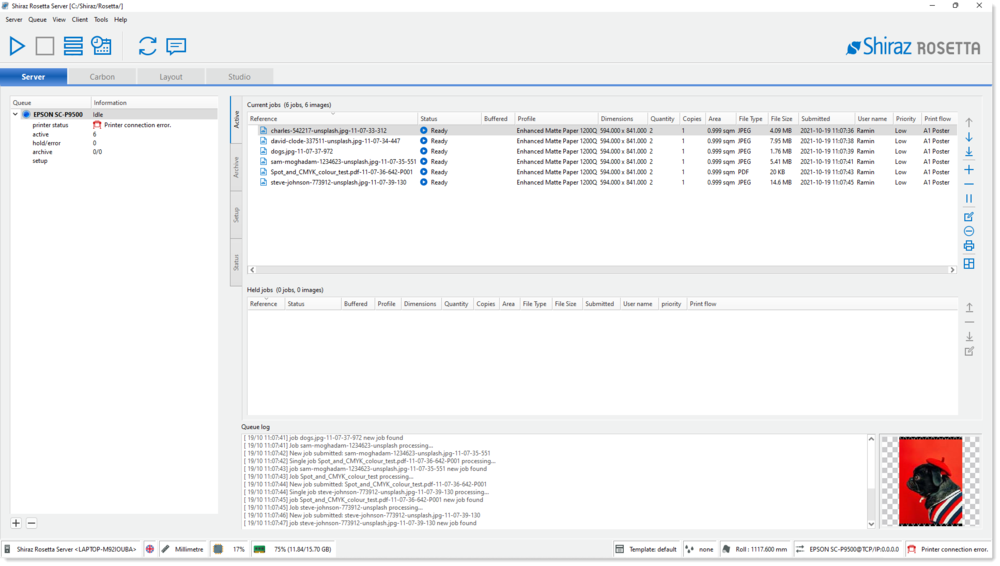
The jobs will now be created and picked up by the printer queue that they were submitted to as shown above.
To group jobs from different locations and submit them all in one operation you can utlise the Register feature. Here you can browse different locations on your local or network drives and then simmple add the required files to the register list. Once all the files have been gathered together then simply select the required printflow number from the drop-down list and click on the Submit icon.
These steps are illustrated in the short video below:
You can save the current register list under a job reference that also includes additional information about the job/customer. Click on the Save icon to start the process as shown below:
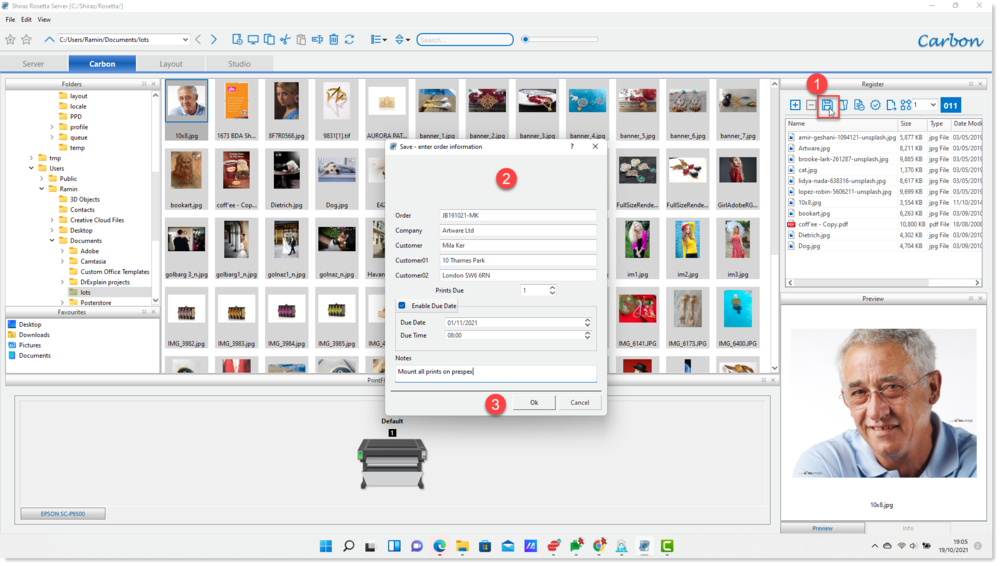
Furthermore it is possible to recall or remove saved jobs at anytime.