
8.2.3.1. Tiling
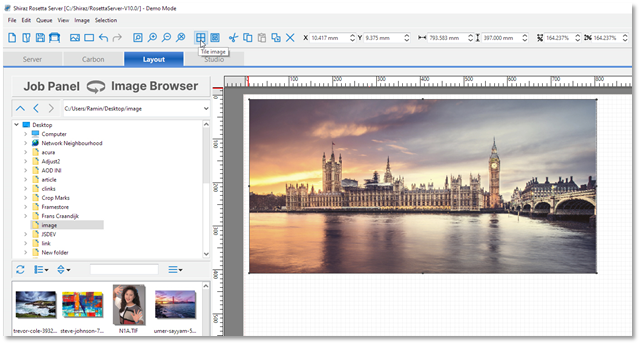
For oversized jobs that require the breaking up of the images into tiles or for creating pop ups, truck decals, billboards etc. you can utilise the powerful tilling module included in Layout module.
The selected image will now open in the Tilling module and you are now able to size and break the image as required.
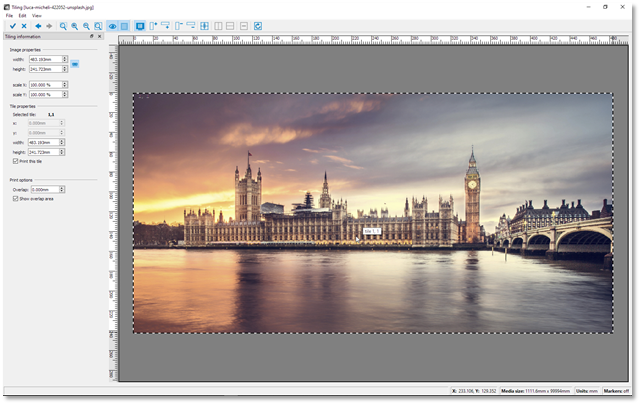
To add the tiles to the image you can either enter the overall dimensions of the job in which case the RIP will based on the current roll size create the minimum number of tiles required. These tiles can then be individually sized and be divided to any number of rows.
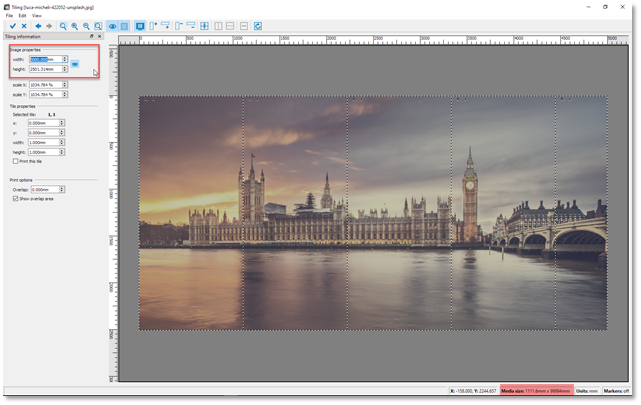
In the example above we have entered 5000mm (5m) for the overall image width. The RIP will now automatically create the tiles with a width that is equalled to the current roll size and last tile with the remainder of the width. To make all the tiles equal width click on the Equalize icon on the toolbar.
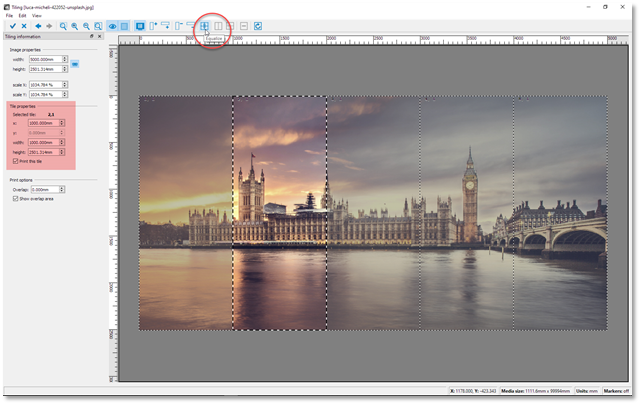
It is also possible to size the tiles by placing the cursor on the boundaries of the tile and moving it. If the tile size goes over the roll size, then the RIP will indicate this by a red cross.
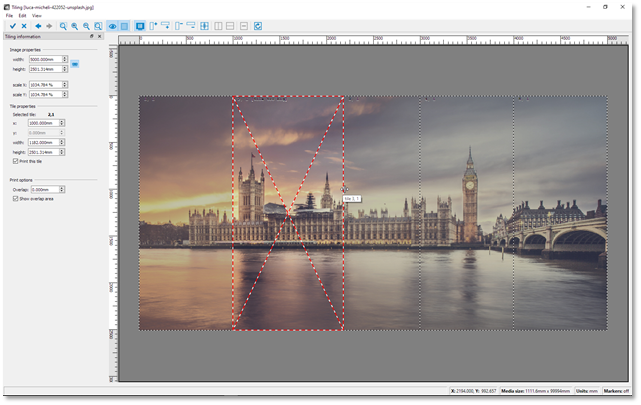
To add rows of tiles, click on the Add row icon on the toolbar. The RIP will now create two rows of tiles. To add more rows of tile just click again. In the same manner as before you can move and size tiles in the horizontal direction. If the Regular mode is selected (default) then all rows are moved together. To create irregular tiles, click on the relevant icon on the toolbar to toggle the mode.

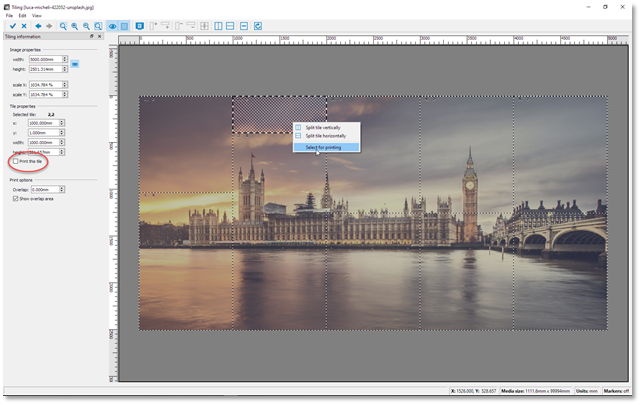
To deselect tiles for output right-click on the tile and then untick the option or alternatively deselect the Print this tile option in the Tile properties section
You can add an overlap to tiles by entering a positive value in the Overlap entry. A positive value will remove that amount from the tiles.
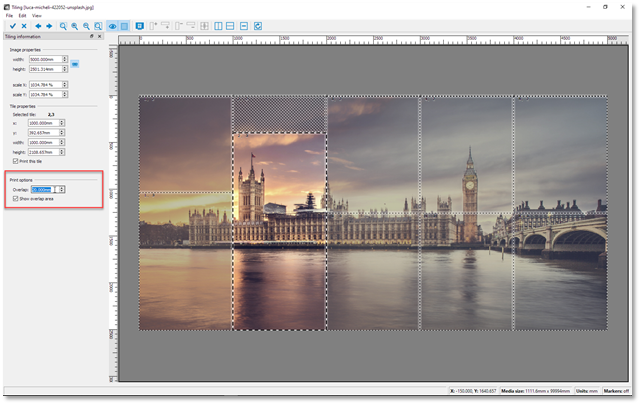
Please note that the overlap amount entered will be applied to both sides of the tiles.
Once the tiling work has been done click on the Done (tick) icon on the toolbar to accept and exit back to the layout.
To add crop/overlap marks to the tiles select all and then add the crop marks option.
|
|