
8.2.3. Layout
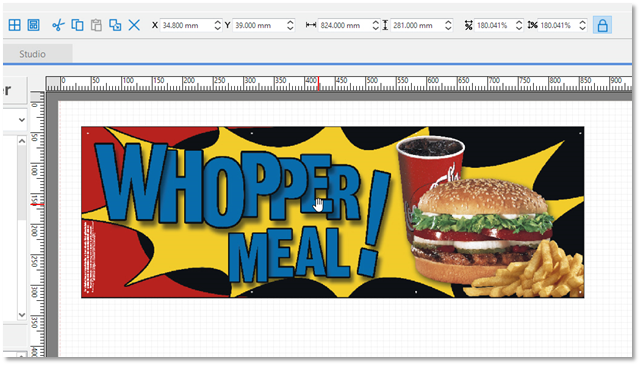
A powerful and intuitive layout application for creating print jobs of any complexity. User can freely place and size any number of images on the working area. The working area is automatically configured by the media width and length currently set in the Status tab of the currently selected queue on the Server. These data is usually fed-back by the connected printer or can be manually set.
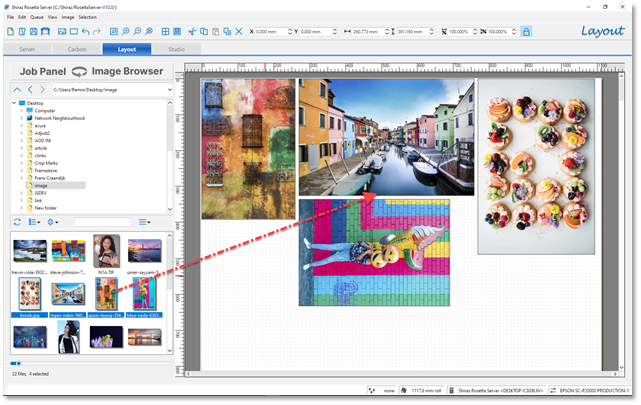
To place images on the layout area you can use several methods. Use the Image Browser tab to locate your images on the local or network locations and then simply drag & drop them on to the working area. Right-click on the layout area and select Place Image(s) option to browse and select images. Use the operating system or 3rd party image browsers such as Adobe Bridge to locate images and then drag & drop them on to the layout area.
The RIP will now automatically create a best fit of the images based on the nesting conditions as set in the Nesting tab. Most functions on images can be executed by either right-clicking on the image and then selecting the required option or using the main toolbar. The toolbar can be customized by adding, removing and moving items by using the toolbars option under the View menu.
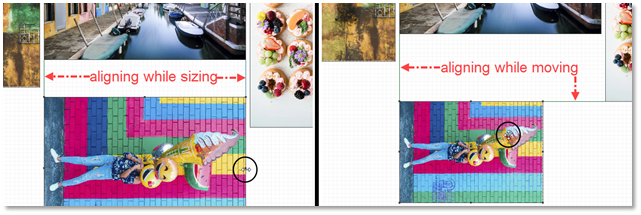
You can Undo and Redo any number of steps by clicking on the relative icons on the toolbar or using the shortcut Ctrl or Command Z and Y. Layout jobs can be saved and recalled if needed. For easier and quicker alignment and sizing of images relative to each other as well as the layout area, various alignment guides are automatically indicated while working interactively. The green lines are for aligning of images relative to each other, pink lines are relative to the layout area and blue lines for when sizing images by dragging the centre points.
You can switch off the alignment lines option if you prefer in the Layout tab under the Control section. Similarly, if you switch the auto arrange on then the RIP will automatically arrange the images after every edit that causes any change to the layout. This could include, sizing, adding marks, quantity, rotation etc.
When placing a multi-page document onto the layout the RIP will prompt you for the page selection.
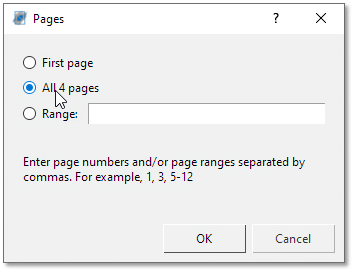
Select the required option and the system will then place these pages on the layout.
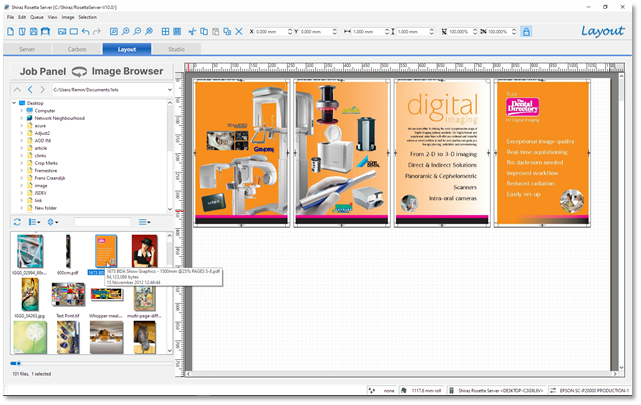
In the example above the PDF file has 4 pages and we selected All for page selection. As can be seen the pages are imported at original 100% size. If we need to size these pages, then we can either do each page separately or select them all (Ctrl or Command + A) and then enter the scale factor.
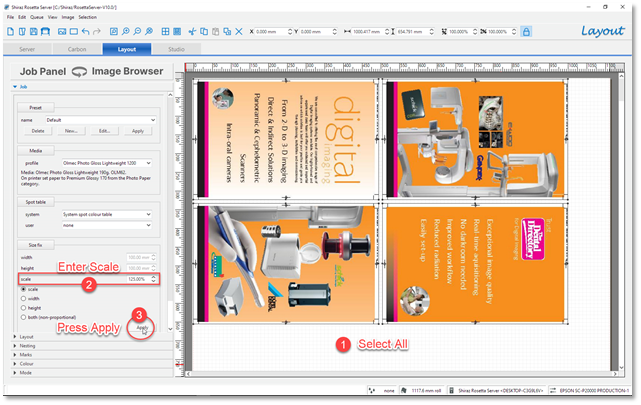
You can also enter the exact size for the width and/or height of the selected image by entering these values in the corresponding entry.
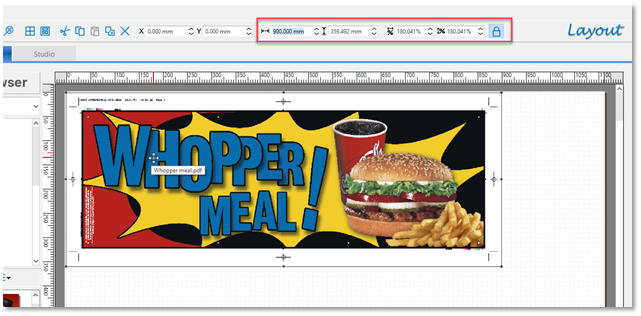
Here you can either enter the actual dimensions or the scale factor. By unlocking the aspect ratio lock it is also possible to distort the image if needed.
To crop the image, click on the image and right-click and select the crop option. The crop overlay window and you can now use the edges of crop box to position and select the required area. To move the crop box, click anywhere within it and then move it as required. It is also possible to use the coordinate (X & Y) entries to move the top left corner of the crop box where needed and then the width and height entries to set the crop dimensions required.
Double-click to confirm and accept the crop selection. Use the Pan option to move the image within the crop area if required. Right-click on the selected cropped image and select the Pan Image option.
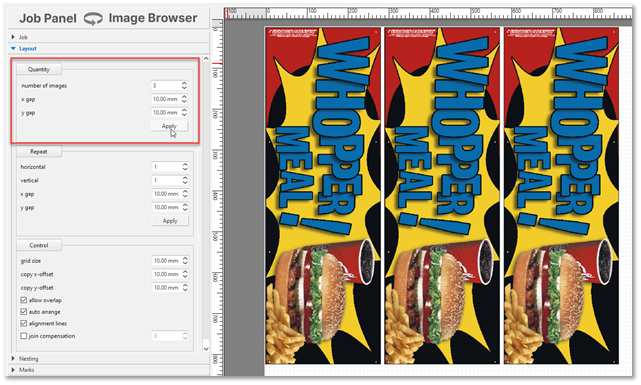
To create multiple copies of the image, go to the Layout tab and then enter the quantity and the gaps between them. Press Apply to execute the settings.
To add trim marks or any other print marks select the required images and then go to the Marks tab and then select the option and parameters required.
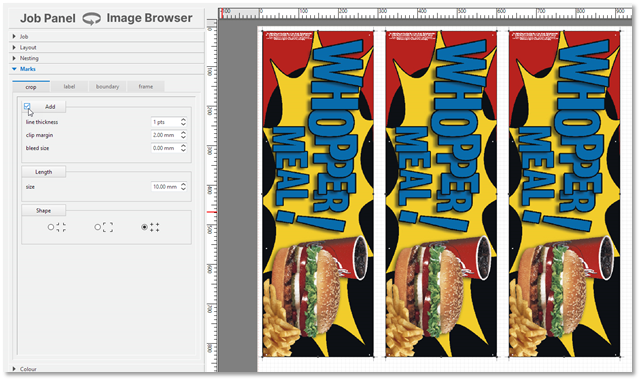
If auto arrange option is on, then the RIP will automatically rearrange the images to accommodate the print marks. If not, then either click on the Nest/Rearrange icon on the toolbar or manually move and position images.
For colour correction of images click on the Colour tab where you will find a number of options for applying various colour filters and colour editing tools.
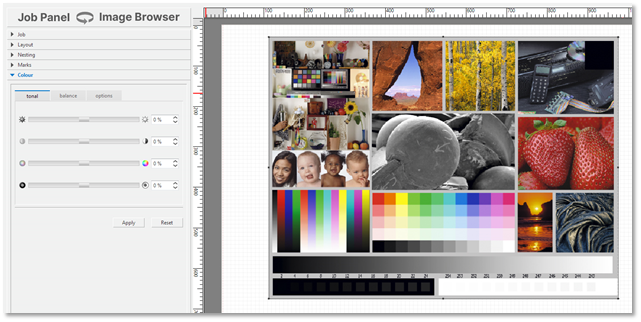
The available tools are divided into three distinct groups. In tonal section the standard tools Brightness, Contrast, Saturation and Lightness are located. To apply any of these tools first select the image required and then either enter the required value for the option that you would like to apply or use the sliders available. Now click on the Apply button to execute and apply the correction filter.
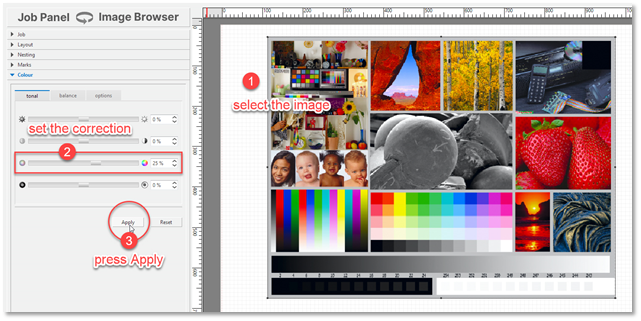
All other corrections and filters also work in the same manner as above. Click on the Reset button to set all values to their default one.
The Job Preset option is a powerful feature that enables users to easily and quickly apply a group of job settings for repeat or similar print jobs to a selection or individual images.
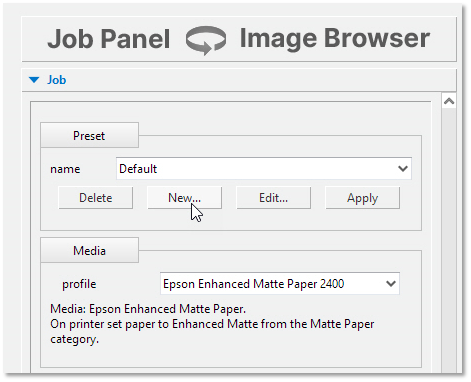
To create and save all the job settings under a job preset first set all the parameters that are required in the various tabs available in the Job Panel such as media profile, quantity, print marks etc and then click on the New... button.
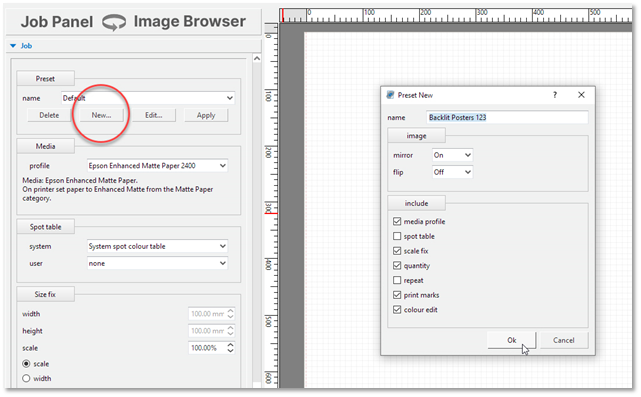
In the Preset window you would need to enter a unique name for the preset and then select the options that you require to include in the preset. Click OK to now save the preset. It is now possible to recall this preset at any time and then apply it to the selected images in the layout.
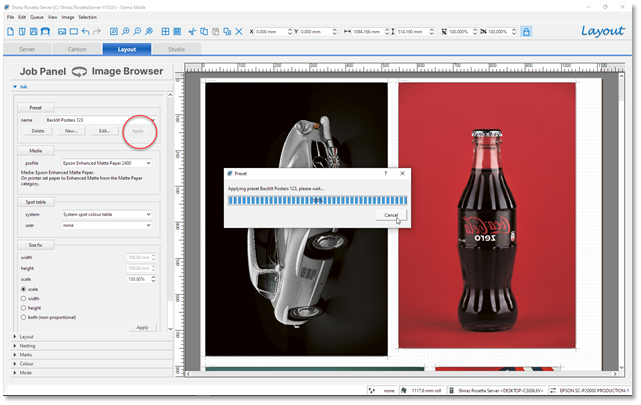
The RIP will now apply the preset settings to each image in turn and then display them with the preset applied. To edit or delete the preset click on the relevant buttons.