8.2.2.1.5. Wrap Mode
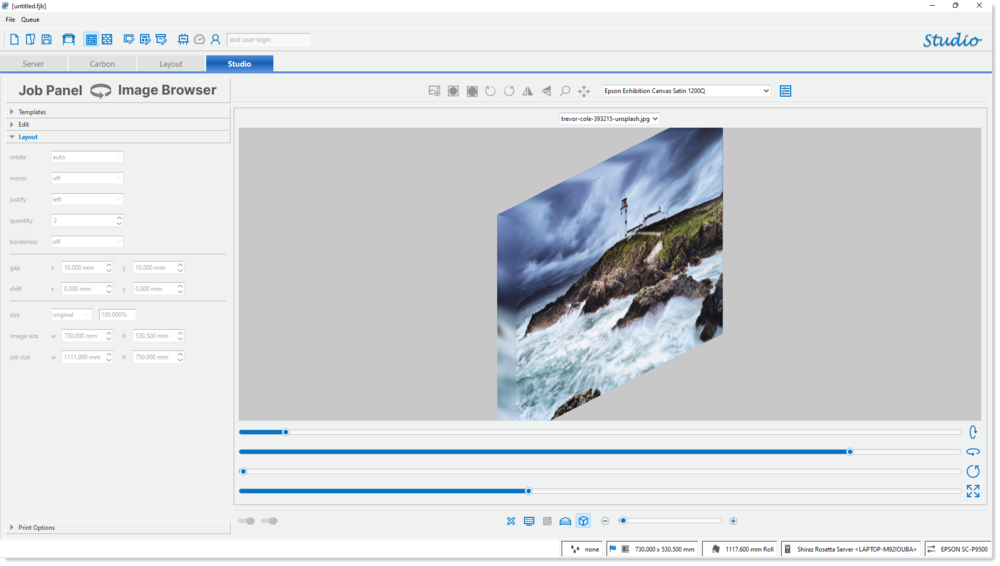
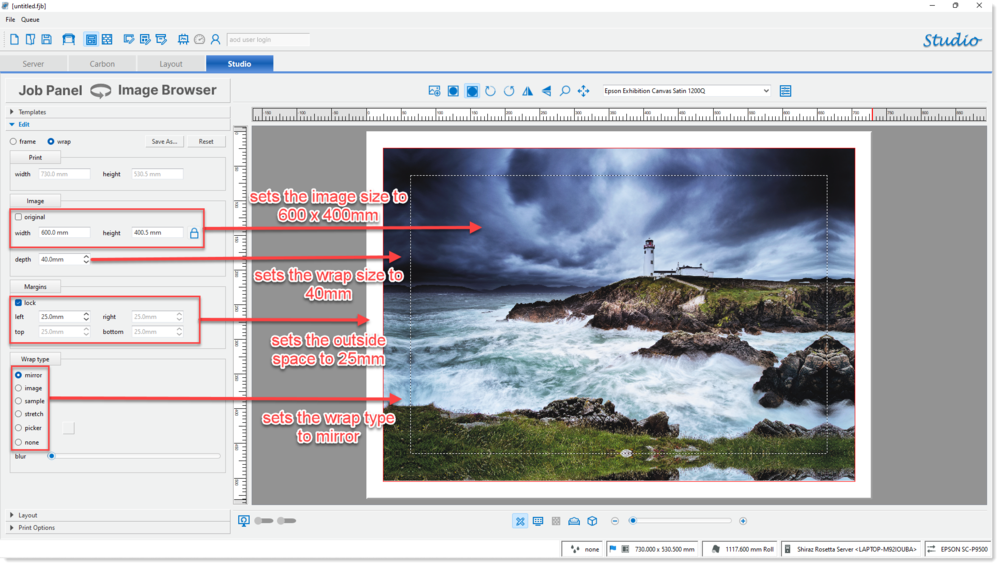
In the wrap mode the user can easily and quickly create a gallery wrap jobs based on the original image used.
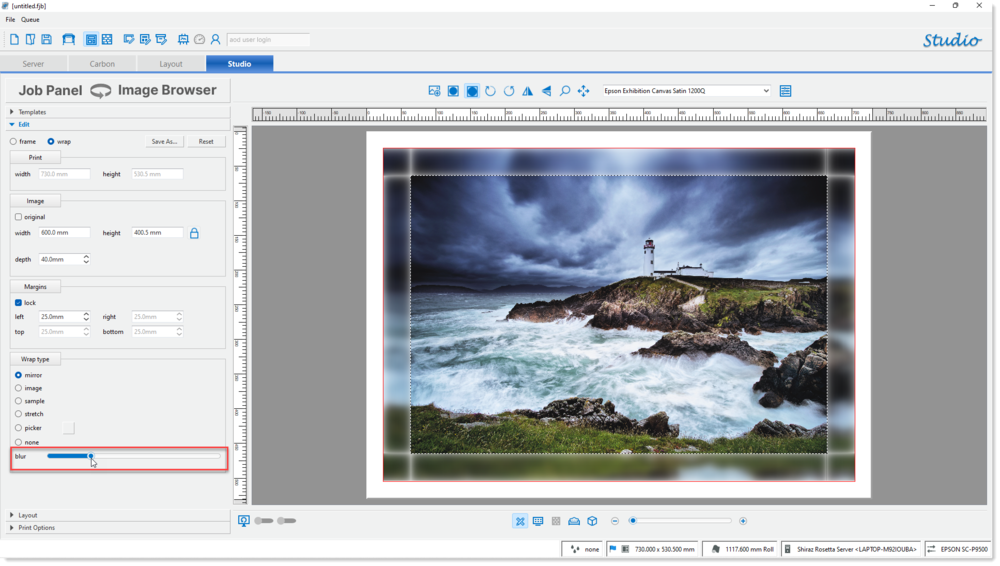
To add a blurring effect to the wrap area you can use the Blur slider to add the desired amount of the blurring to the wrap section as shown below.
To edit the job further use the toolbar located on the top of the design area.
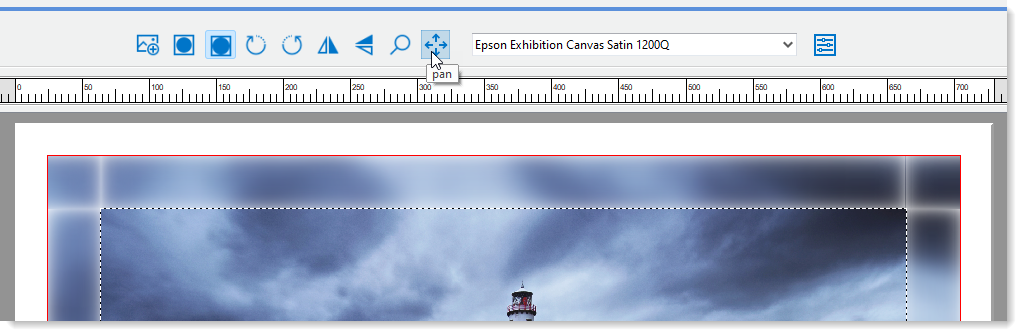
Here you can zoom and pan the image to get the view required as well as options to rotate and mirror/flip the image if required. Also available here are the list of the media profiles that you can select to match the media that you are printing on. Please note to see an accurate colour proof of your image using the newly selected media profile you can use the Soft Proof feature as explained previously.
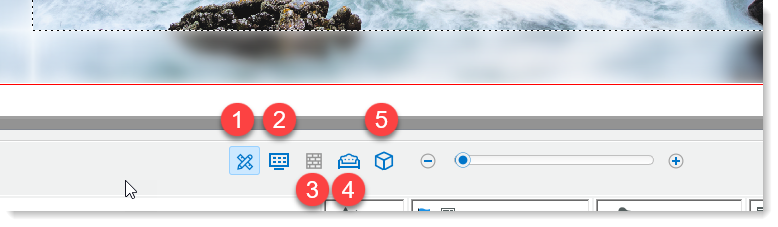
Once you have set your required parameters and edited the job then you can also examine the different view of the job by clicking on the corresponding icons on the view panel at the bottom of the window.
-
Design View
-
Layout View
-
Proof View
-
Room view
-
3D View
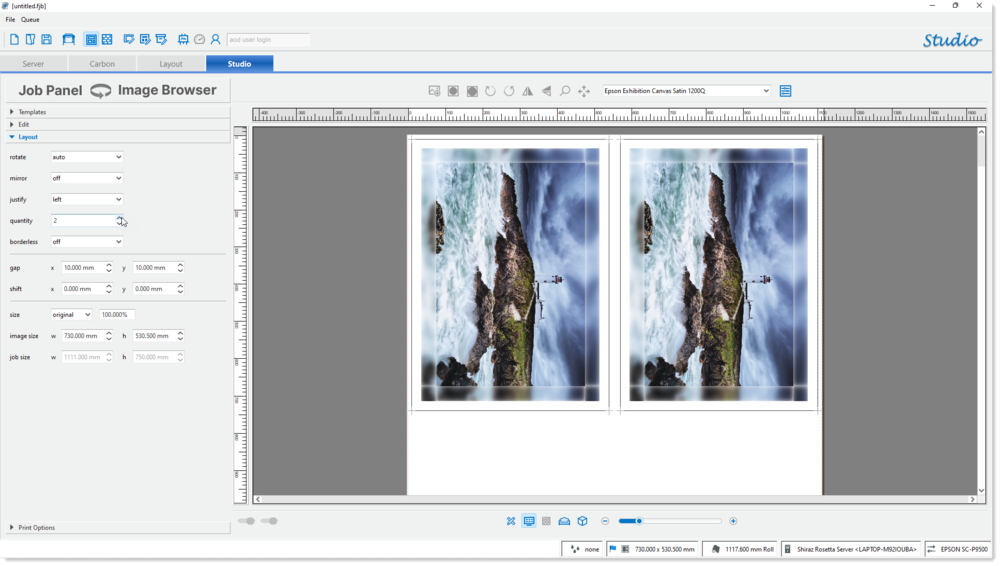
In Layout View you will be able to see the print job as it would be printed on the printer including any print marks that are currently selected. Here you can also add other job parameters such as quantity and justification and shifts.
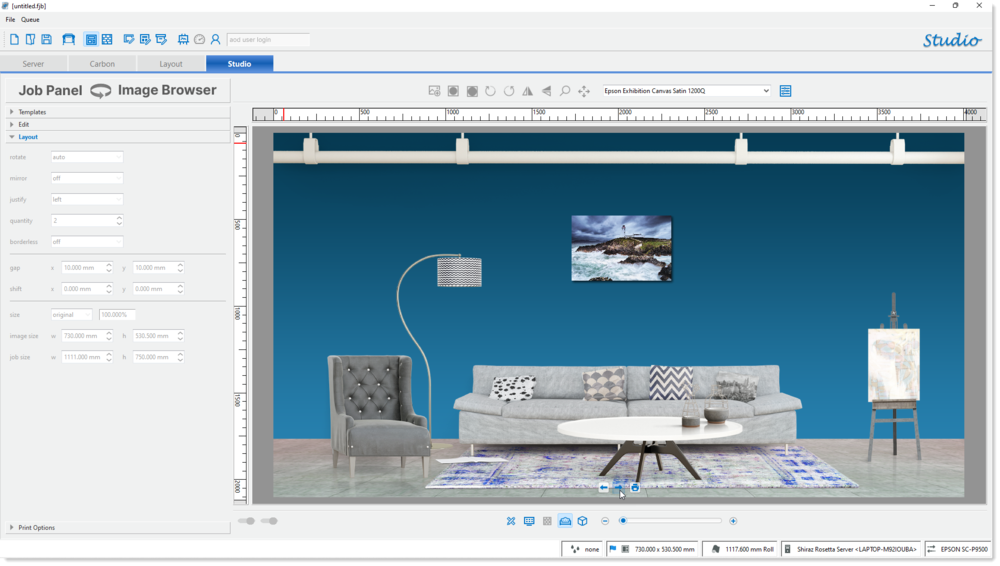
In Room View mode you can view the design in a simulated room situ and create a proof print or file for customer approval.
In 3D View a simulated 3d presentation of the design is shown that allows user to examine the various angles of the finished job closely including the wrap appearance.