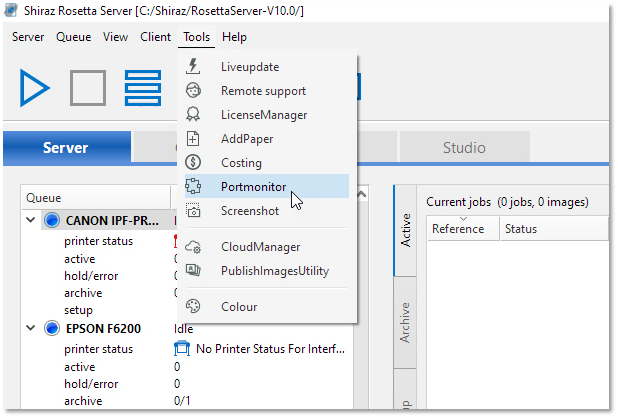
13.1.1.2. With the utility Port Monitor – Tools Menu
To run this utility application, click on the Tools menu and select the Portmonitor option.
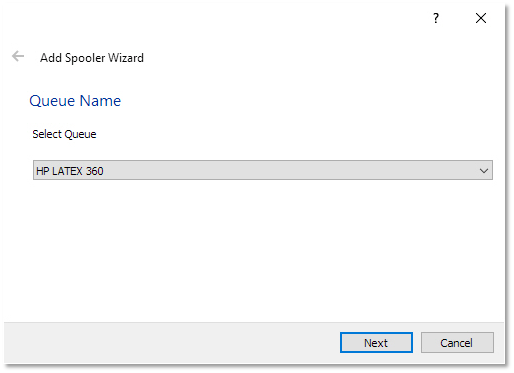
The utility is an easy to use wizard. Select the queue to which you want to add Port Monitor functionality:
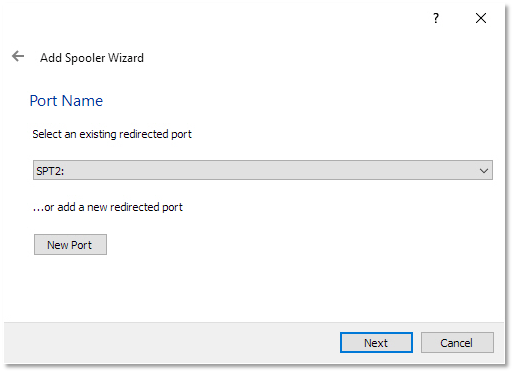
Select a Shiraz Port from the drop-down list. If no Port is available, click on the New Port button.
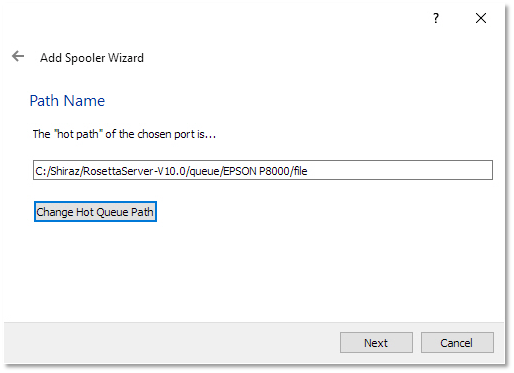
Next enter the folder of the chosen port, where the print will be redirected (by default set to the "hot folder" of the queue). The port itself will hold the folder information, not the printer spooler. Therefore, if you change the folder of a certain port, any printer spooler that uses this port will also use the new folder.
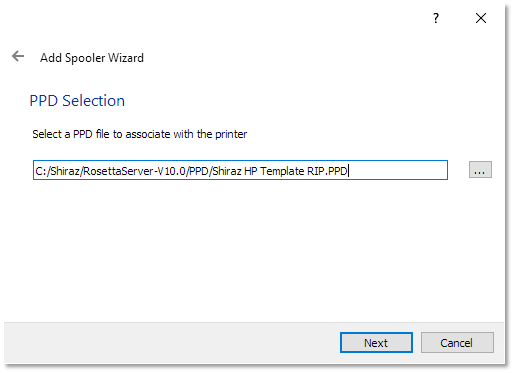
Select a PPD file, the appropriate one should be selected by default, but you can change it with the Tool button, or type it. This PPD file sets the parameters associated with the new printer.
In the next step the system will automatically select a PPD file that best fits the printer make & model that the port monitor is being created for. This can be changed by the user if required.
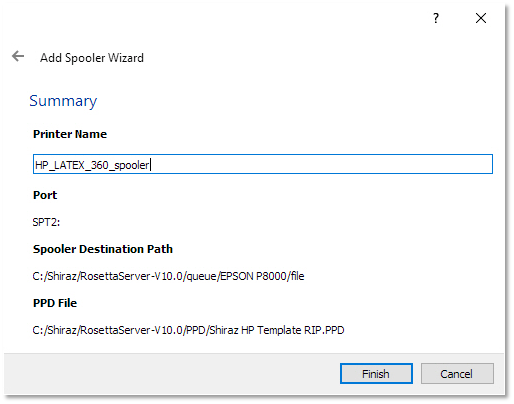
The final window in the wizard provides a summary and allows any name change to the printer if so desired. Click Finish to confirm.
A message will inform you about the success of the operation.
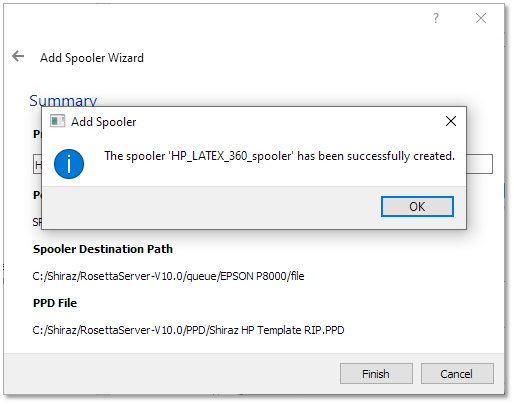
You can now use the newly created printer driver to print directly from any applications to the Shiraz Rosetta RIP.