8.2.2.3. Wallpaper
To design and create wallpaper drops switch to the Wallpaper tab and switch on the wallpaper option as shown below.
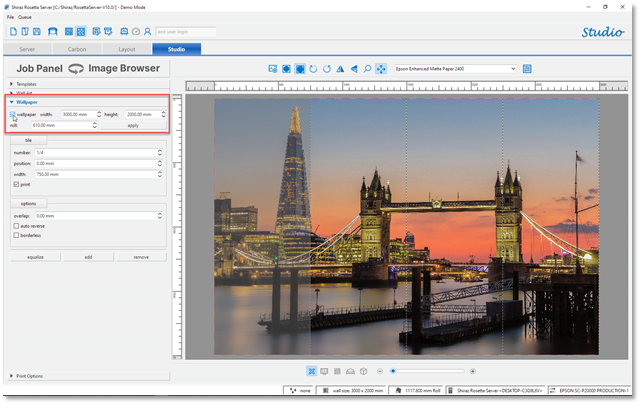
The default wallpaper area value is set to 3m x 2m, enter the required dimensions and set the number of tiles required by clicking on the add button.
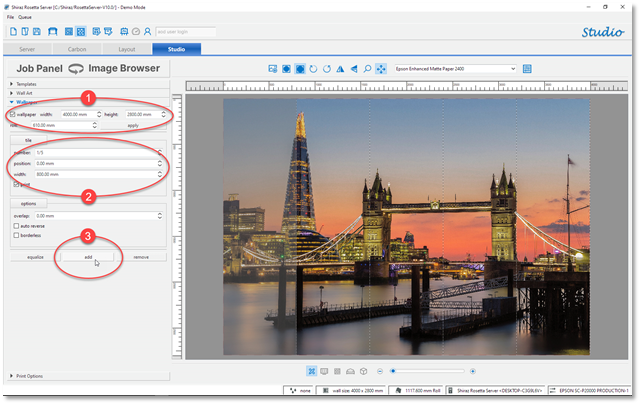
The system will automatically create tiles of equal sizes based on the wallpaper width and number of tiles set. You can change the tile's width individually by click and selecting them and then entering the width required.
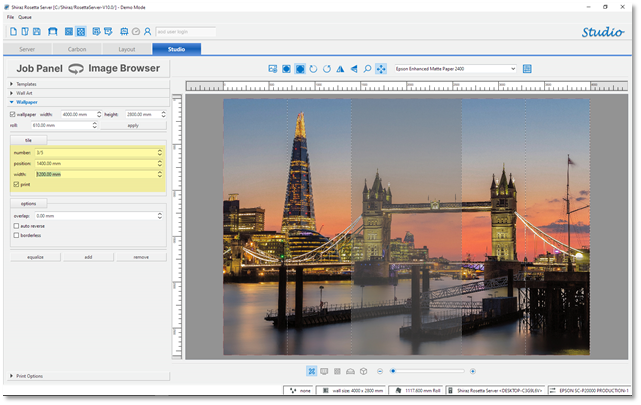
You can also deselect tiles that will not then be printed by either right-clicking on the tile and unticking the Print option or selecting the tile and then unticking the print checkbox in the tile section.

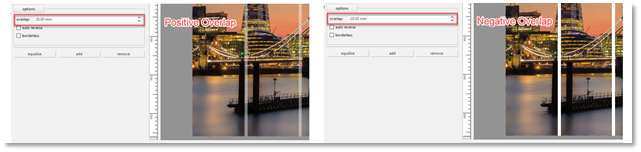
It is also possible to add overlaps to the tiles to help with their installation. The overlap value can be positive that adds to the adjacent sides on both sides or a negative value that actually takes away from the tiles.
Additionally, if auto reverse option is selected then the system will automatically print every other tile in reverse so that the adjacent sides use the same part of the media to minimise any shifts in colour.
The borderless option when selected then instructs the RIP to print the tiles in borderless mode if supported by the printer and the current roll size set. Borderless prints eliminate the need for trimming any white space on the tile’s sides due to the hardware margins and makes the installation procedure easier.
When the wallpaper job is submitted to the server the RIP creates individual jobs for each selected tile numbering them accordingly to help with the production.