8.2.2.1.2. Soft Proof
Soft-proofing is the capability to see how your photos will appear when printed. It gives you an idea of the output quality before you click Print. Ideally, you can use the soft-proof information to further edit your image and compensate for changes imposed by your printer or paper's performance limitations. It is important to note that you should only use a calibrated and profiled monitor when soft-proofing.
Some more tips:
-
Wait for your print to dry fully, 20 minutes to an hour, before comparing it to the monitor.
-
Be sure to illuminate your print properly during this comparison. Be in a brightly lit room, use a colour balanced light next to your monitor, or bring the print to window.
-
Comparisons should be limited to colour and tone accuracy.
All image previews shown in the Studio are fully colour managed and represent an accurate display of what would actually be printed on the given printer with the current media profile selected.
Additional tools are provided to examine the ‘out of gamut’ colours on the image as well as the effect of the media white point on the print. Please note that the RIP uses the currently set monitor profile on your system in order to calibrate the display. If you require your own ICC profile for your monitor, then either use the Preferences section in the Server module to set this or set the ICC profile for your display using the operating system tools.
Use the Refresh icon positioned at the bottom left corner of the display area to update the preview whenever any relevant parameters such as the media profile is changed. The other toggle switches located there each control the options for the ‘paper simulation’ and ‘out of gamut’ indicator.
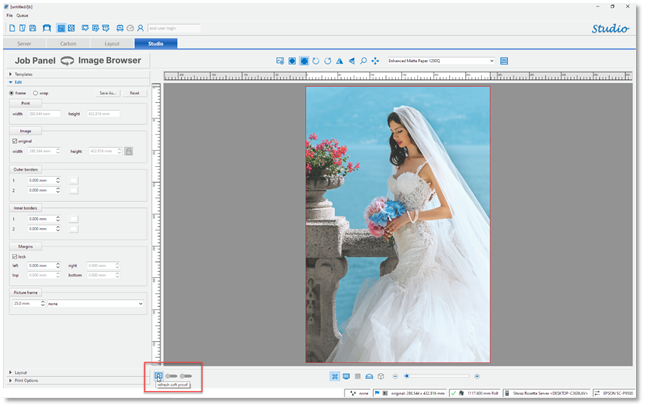
The Refresh icon when pressed will process the image and apply all the relevant icc profiles and simulate the colours shown as they would be printed. Please note that this process relies on an accurate monitor profile for your computer being set on the system.

To see and examine the colours that might fall outside the printer/media gamut switch on the Gamut Warning option and then click on the Refresh icon to update the display. All colours that are highlighted in the bright pink colour fall outside the gamut and will not be printed accurately. You should experiment by selecting different media profiles and observing the effects on the preview.

Similarly switch on the Simulate Paper Colour option and refresh the display to see the effect that the base colour of the paper (white point) has on the print. When this option is left off, the maximum white in the file is mapped to the maximum white of the monitor. So, the white you will see is the white point of your monitor, not the print. When turned on, the simulation uses the paper's white point. In short, the system tries to replicate the actual white shade of the paper you are using.