
10.2.1. Setup
After allocating cost values to your media and inks, you will need now to enable costing for your printer. For that, go to your Server tab, and click the Setup section of your Printer/Queue. Select the Costing Category.
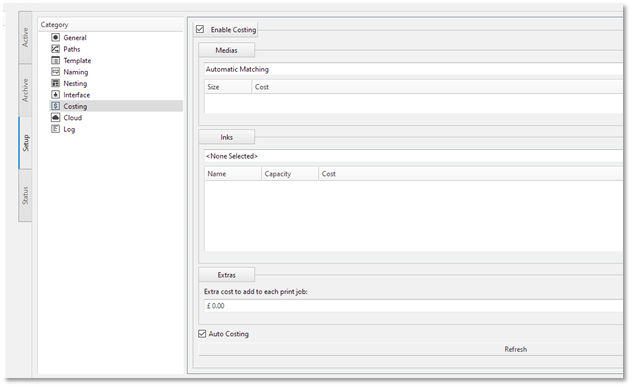
You can choose to enable/disable Costing for the Printer by ticking/unticking the checkbox on top. The checkbox Auto Costing is used to choose between manual and automatic costing update. Automatic is recommended if you want the job cost to be automatically calculated after the print is finished.
You must choose your particular Media and Ink set from the corresponding drop down lists.
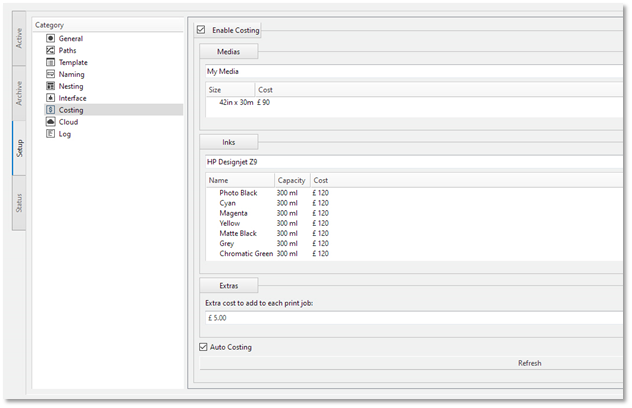
You can see the values associated to your Media and Inks. If you need to change them, run the Costing utility in Tools menu. The Refresh button is used to update the content of this window if you have made any changes via Costing utility. The section Extras allows you to enter a constant cost value that will be added to every single job.
Note that you need to repeat this process for every single Queue if you are running multiple queues on your Rosetta Server.