8.2.2.1.7. Photopacks
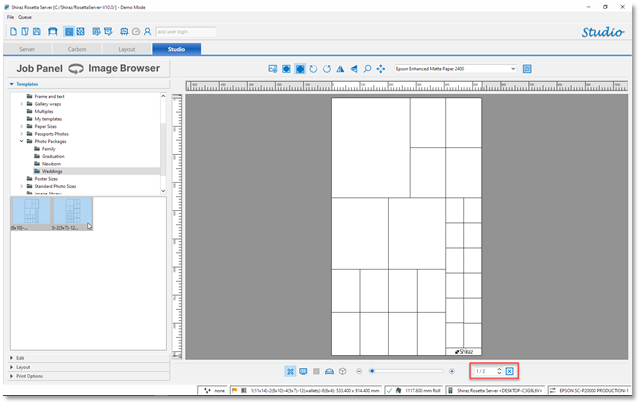
To select a photpack click on the Template tab and then browse the list of templates available here. Double-click on the template or drag&drop it on the design area to select it.
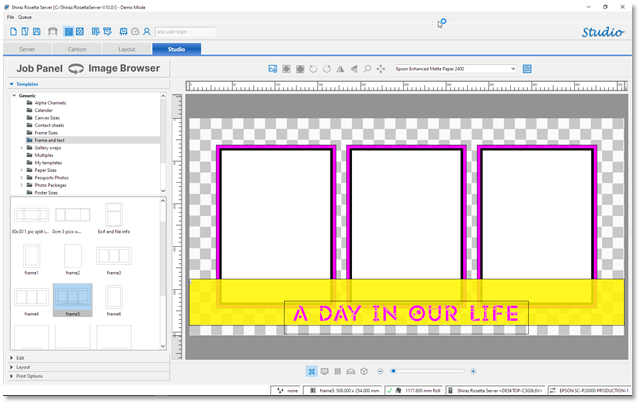
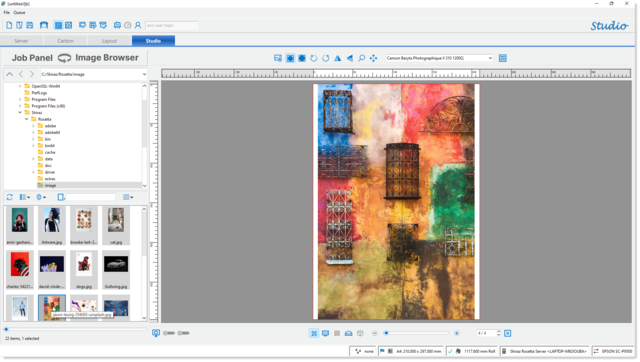
In the example above the template contains three elements where images can be added to as well as a fixed text element. To populate these elements simply select and then drag & drop images on them.
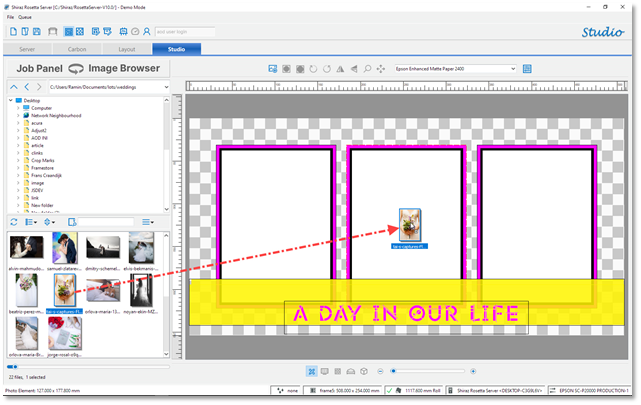
Once an image has been dropped on an element then the system will automatically fill the area with the image. It is now possible to edit the image placement within its cell.
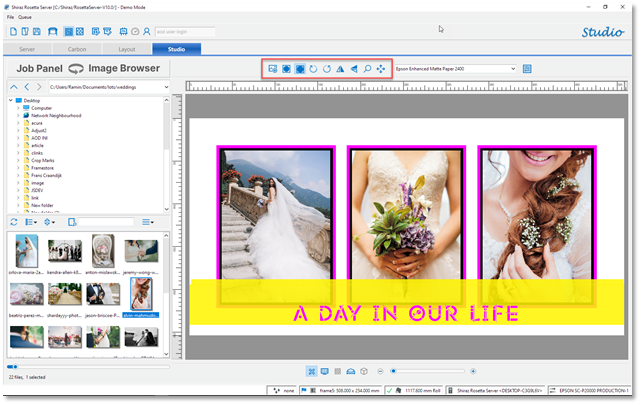
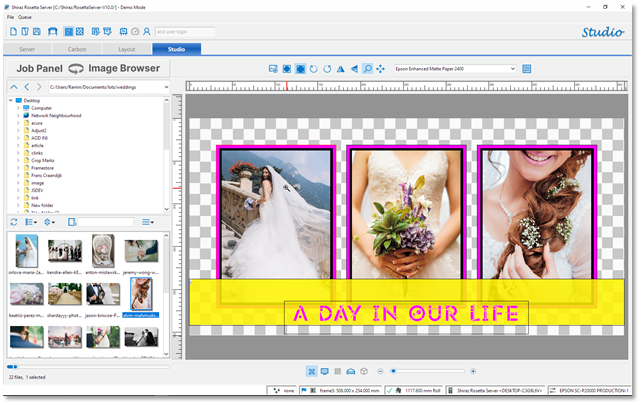
Select the cell that you would like to edit and then using the tools available on the edit toolbar. In the example below we will zoom and pan the image on the first cell.
The photopack template can be edited by using the built-in Photopack Editor. Click on the Editor icon on the main toolbar to open the template for editing.
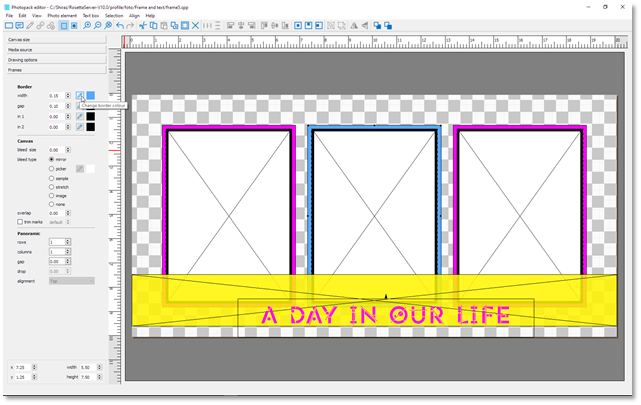
Once the editing has been done you can either save the template under a new name or update it.
For comprehensive details and instructions on using the Photopack Editor please refer to the relevant chapter in this document located further on..
It is also possible to select multiple templates to operate on as one combined job. This operation effectively creates a multi-page job that enables quick switching between pages.
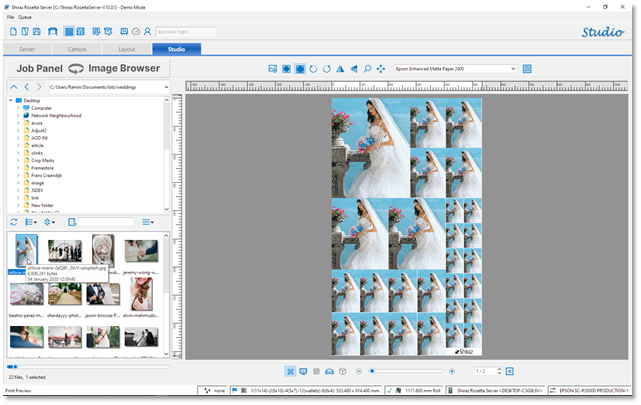
In the example above to quickly populate all the cells with the same image, first select all the cells by pressing Ctrl or Command + A that then highlights the cells in red and then drag & drop the required image anywhere on the template.
It is also possible to apply the same image to multiple photopacks simultaneously by first selecting all photopacks and then dropping the image on any of the selected photopacks. To select all photopacks right-click and then click on the 'Select All Photopacks' option.
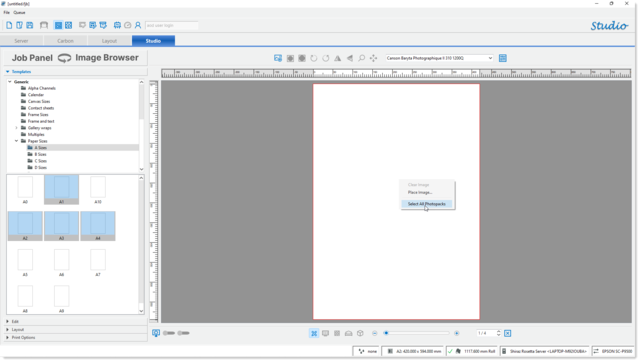
Once you select this option all photopacks will now show a green boundary line.

Now drag the image onto any of the highlighted photopacks and the system will then apply the image to all photopacks and image cells in them.
The image is applied to the image cells using the Fit option. The Fill option can be applied by clicking in the corresponding icon on the toolbar.