10.1.1.1. Medias
In this section we will first be presented with an empty list as shown below.
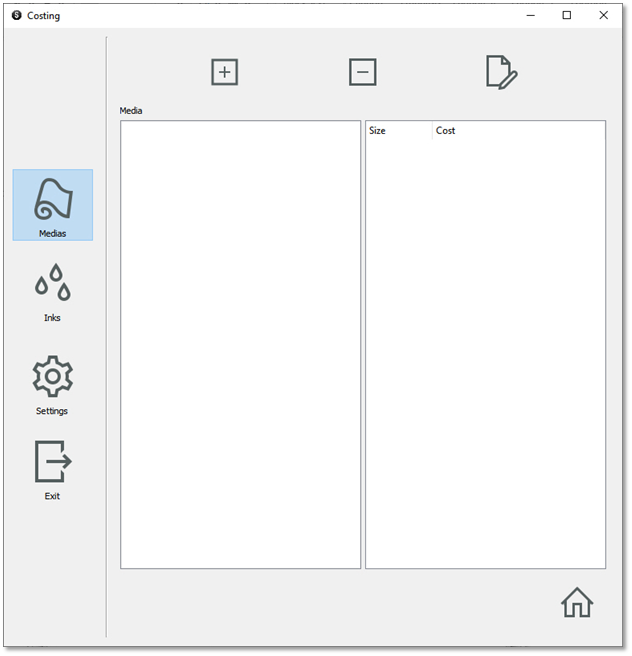
Click on the Add icon to start pricing the list of the media available on your system or add your own custom media.
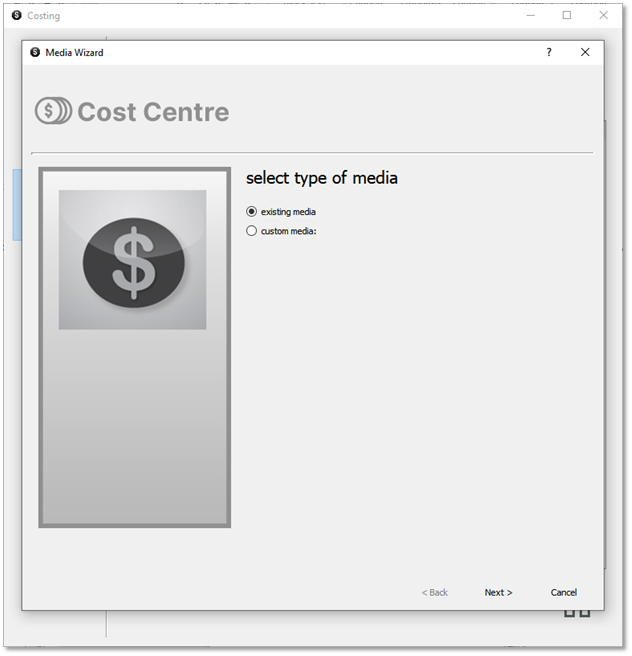
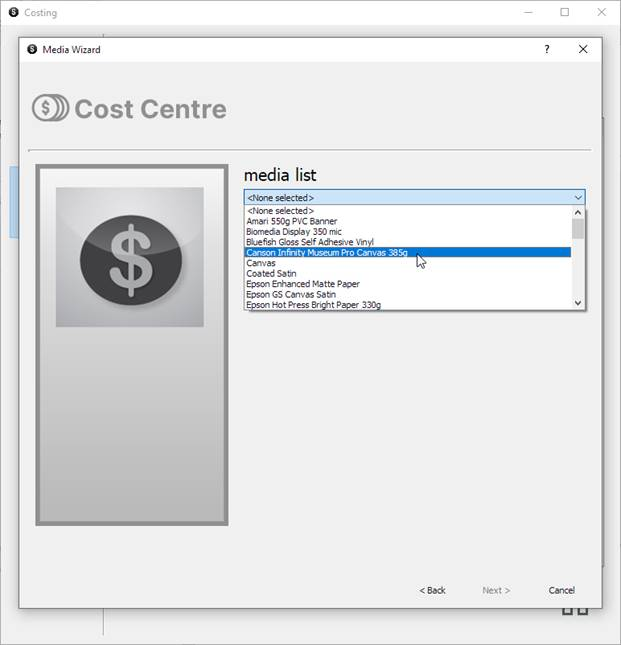
If you choose existing media, you will see a drop-down list of all possible Medias available under your current installation. If the list is empty or does not include the Media you want, please close the application and install new profile Medias with the utility LiveUpdate, then run Costing again.
Click Next to see the list of the media currently installed on your RIP on the drop-down menu.
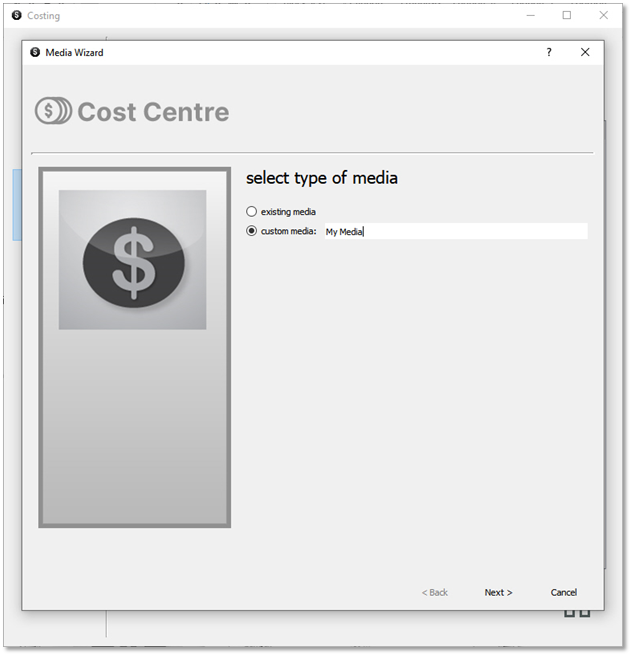
Alternatively, you can enter your own custom Media if you don’t know which existing Media to choose from, or for your convenience and ease of use if you have different Medias of the same dimensions and cost that you might use on different printer models.
When selecting the Custom Media option, you need to then enter a name for this media as shown in the image below. Please note that this name needs to be a unique one that has not been used previously.
Click Next to go to the next screen where you can enter the cost of your Media and its dimensions.
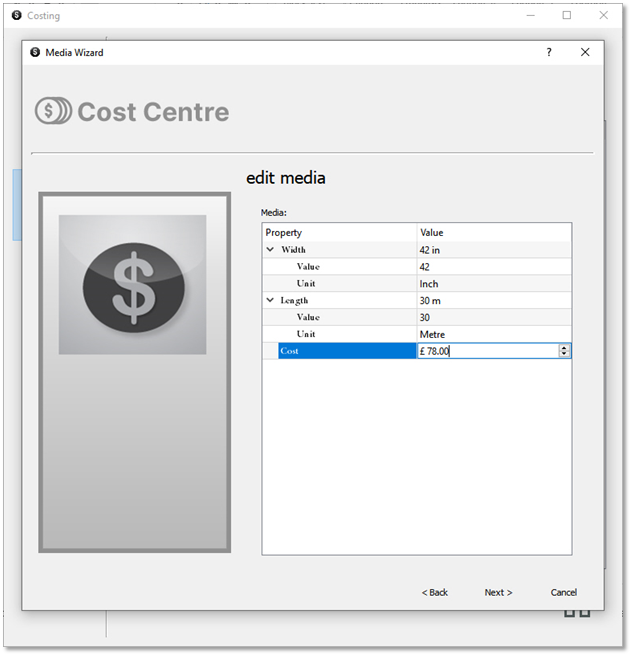
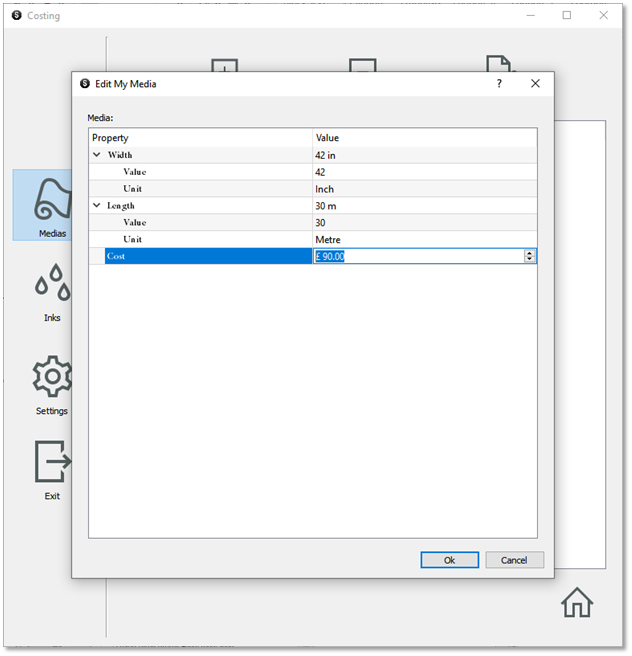
If the default values previously entered match, you just need to enter the cost. The latter corresponds to the cost of your entire roll. If you use sheet printing, enter the cost per sheet.
After completion of the wizard, you can see that your Media has been added to the Media list on the left-hand side, and the values corresponding to the selected Media are displayed on the right-hand side.
You can remove Medias by pressing the – button from the toolbar or from the menu displayed when right clicking on it.
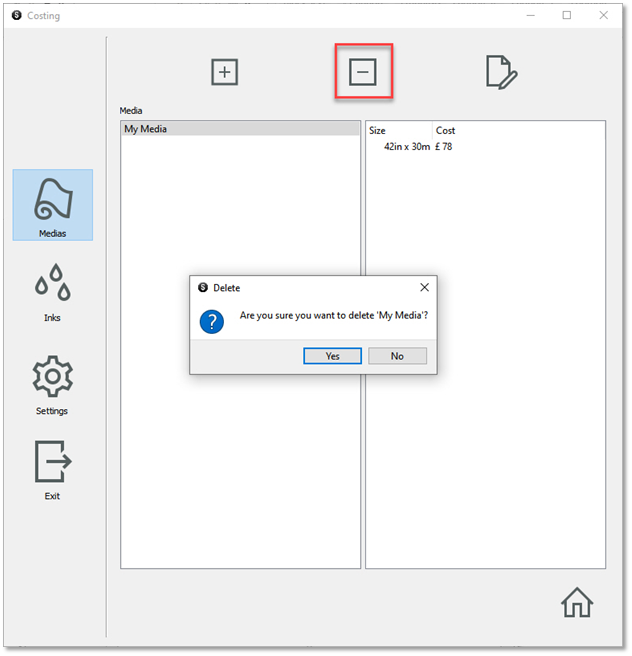
You can update costing and dimension values with the edit button on the top right-hand side or via the context menu or by double clicking on it.