7. Installation
Once you have downloaded the Rosetta installer package for your operating system from the Shiraz cloud storage then simply double click on it to start the process of installing it on your computer.
The install wizard will prompt the user to select the type of install as shown below:
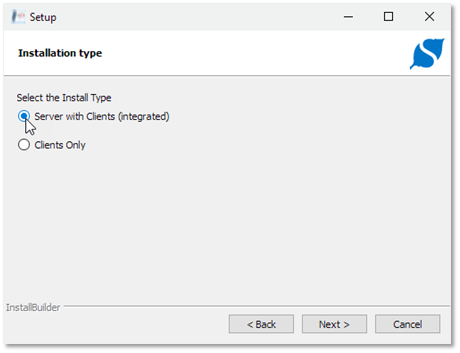
If you are planning to set up a client/server configuration with multiple client stations sending jobs to the server then you should first install the Server option on the server computer. This should also be your choice if you are only installing on one computer (no client/server). Once you have installed the RIP on the Server then repeat the install on each client stations and select the Client Only option. Please refer to the Client/Server section later in this document for the actual configuration details.
The complete installation is divided into three major parts. Firstly, the core application is installed on your system. In the first step simply follow the installer wizard to initiate the actual installation. Once the installation has ended you should be able to see a short-cut key with Shiraz Rosetta icon on your desktop.
Now double-click on the icon on your desktop to start the RIP for the first time. If there are no valid or current Rosetta license active on your computer, then the RIP will show a message with regards to this and indicate the options that are available.
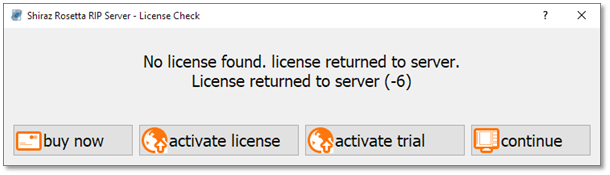
If you have a valid Rosetta license already then you should click on the activate license button. The RIP will now run the LicenseManager application and you will now be presented with the activation window:
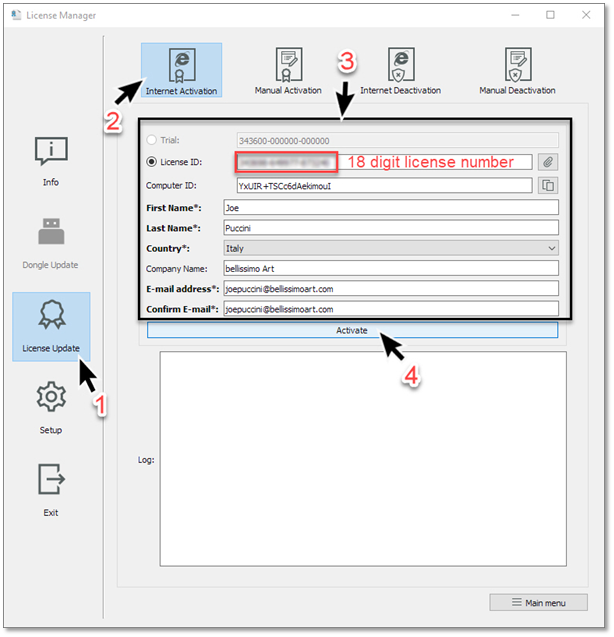
Copy and paste or type your license number in the License ID section without any hyphen or spaces. This should be an 18-digit number that you would have received by email from Shiraz Store once you signed up for the lease of your choice. Fill the rest of the information required taking care not to make any typing mistakes. If all entries have been correctly entered, then the Activate button will become selectable. Now click on it to activate your license. If the license activation successful, then you will get a message indicating this.
If for any reason the activation is not successful, then a message with the relevant reason will be shown. Some of the reasons for unsuccessful operation are such as:
-
license has already been activated on another device
-
license ID is not correct or valid
-
computer is not connected to the Internet or a firewall is blocking access
-
license details entered includes invalid data or characters
On the successful activation click on the Exit icon to close the LicenseManager and continue with the rest of the configuration.
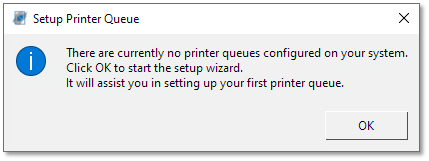
As there are no current settings for your system the RIP will now show a corresponding message and asks you to start the configuration wizard that will guide you through the steps required to configure for your printers.
This procedure includes the download and installation of the latest Shiraz drivers for the specified printers. You are also then asked optionally to select and download the media profiles required for your printer make and model from the list of available ones. Please note that you can add more printer queues once the RIP has started.
Press OK to start the wizard that guides you step by step in setting up your first printer queue:
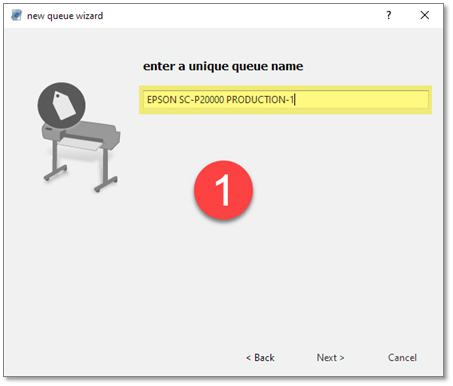
Step 1 is to enter a unique name for the queue. We recommend entering a meaningful name that is descriptive of the queue being created. Click Next to continue to the next step.
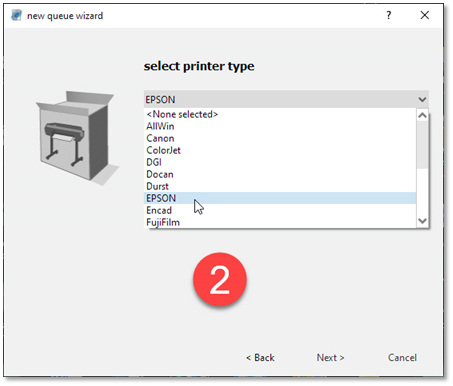
Now select the actual printer brand from the list of supported one shown.
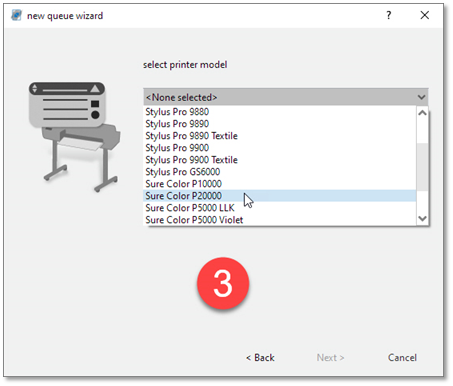
Now based on the previous selection a list of supported printer models for the chosen printer brand will be shown. Select the one that matches your device and click Next to continue.
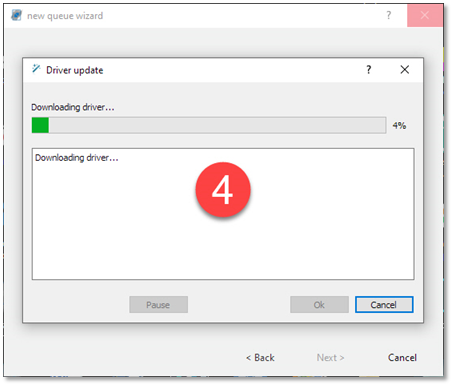
The download of the latest Shiraz driver for the selected printer make and model will now start, and its progress shown. Depending on your Internet speed and size of the package this might take up to a few minutes. Once the driver has been downloaded and successfully installed click Next to continue.

In this step (5) you are given the opportunity to download media profiles for the selected printer. You can skip this step and if needed do it a later stage by running the LiveUpdate application. Click on the Download button to view the download window where you can search and select the required media profiles from the available list.
Please note that for the download to initiate and work properly your system clock must be set and synchronised correctly with your time zone. Also if you employ a stringent firewall then it is possible that it might try to block the connection. It is possible to configure the system to use a configured proxy setting to access the Shiraz cloud storage. To do this go to the Setup menu in the LiveUpdate application.
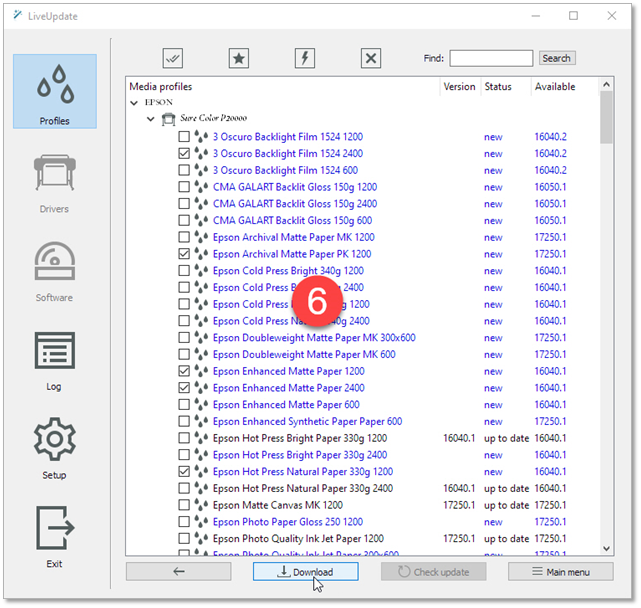
Click on the Download button to initiate the download and installation of the selected media profiles on your system. Progress of the download will be shown. Click on the Exit to close the LiveUpdate window and continue.
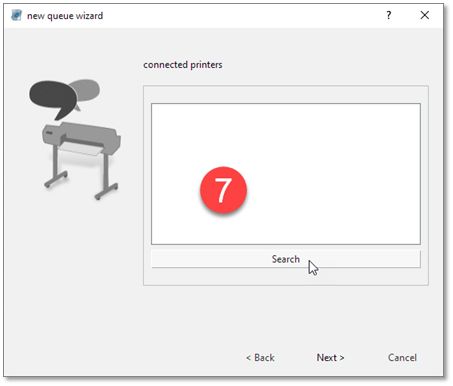
In step 7 you can click on the Search button to automatically find all the relevant devices that are connected on the network or other direct ports. At the end of the search the list of discovered printers and their connected port type will be shown. Click to select the required one.
If the printer that you have is not listed or a message saying no printers found is shown, then you can manually configure and enter the connection details in the next step:
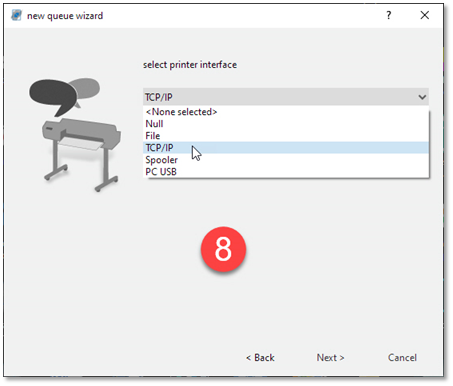
Based on the printer model a list of compatible interface types is shown. Click and select the one used.
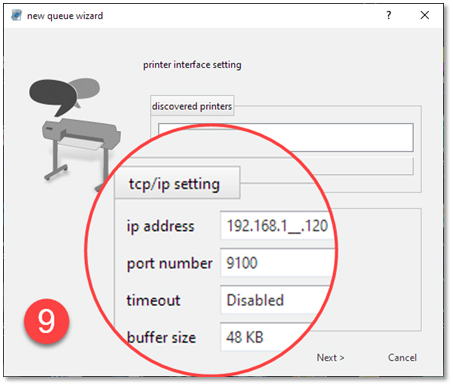
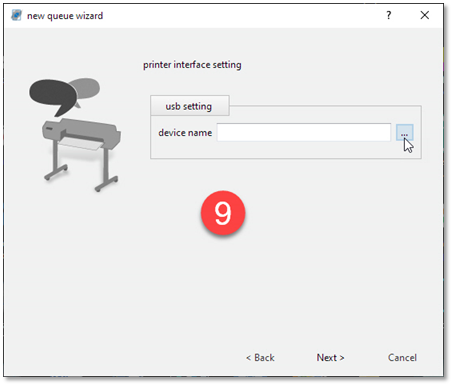
Now you need to enter the required details of the interface, in the above case the IP address of the printer should be entered. If your printer is connected by a USB port to the computer, you should click on the button highlighted to get the list of the USB devices connected and then select the one referring to your printer.
In the next step you can optionally create a virtual printer driver for the queue that allows any user on the network to 'print' jobs to the queue directly from their design applications.
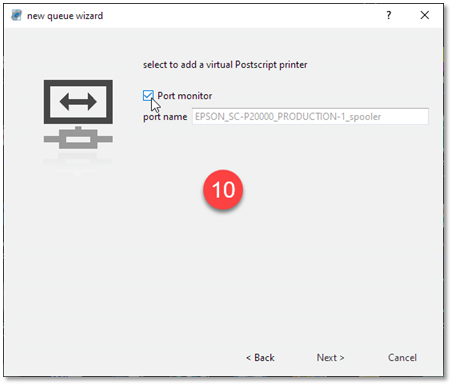
By selecting the Port monitor option, the RIP will then create a virtual printer driver with a name based on the queue name being made. Please note that because this operation requires access to the operating systems folders and files you would need to run the RIP as an Administrator when first starting up the RIP. Once this printer driver is created you can find it in the printer lists available on your computer operating system and is shared automatically so that all network computers should be able to use it.
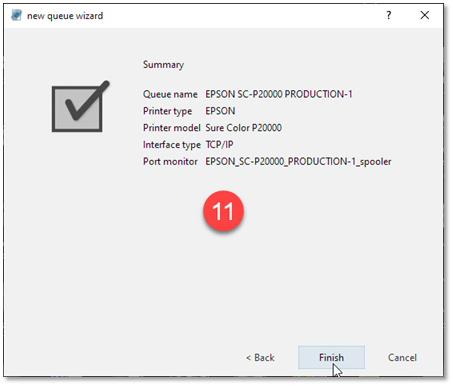
The final step is where the RIP shows a summary of all the settings selected for your confirmation and if you are happy with them click on the Finish button to create the printer queue.
After a few seconds, the Rosetta RIP will boot up and you should be able to see the RIP's main window like the one below:
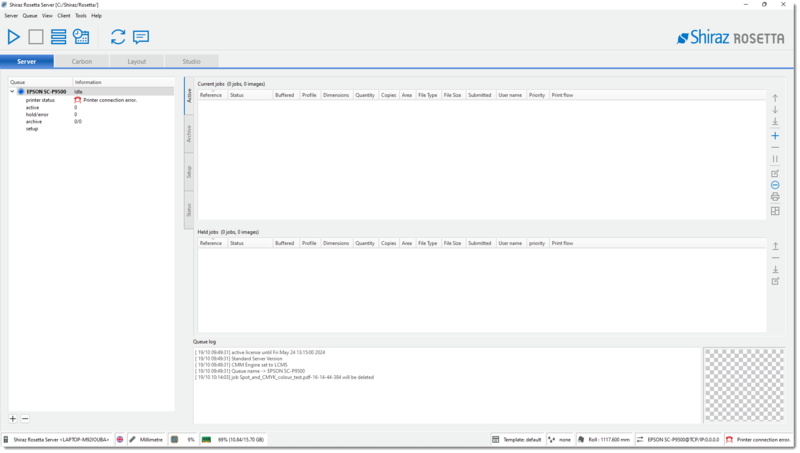
In the following sections we will go through how to quickly setup your first print job and then print it. We will also cover all the major features of the Rosetta solution.