10.1.1.2. Inks
Unlike media, inks are much more printer dependent. Therefore, Costing is delivered with a standard list of Ink sets which should help you in setting up your ink costing.
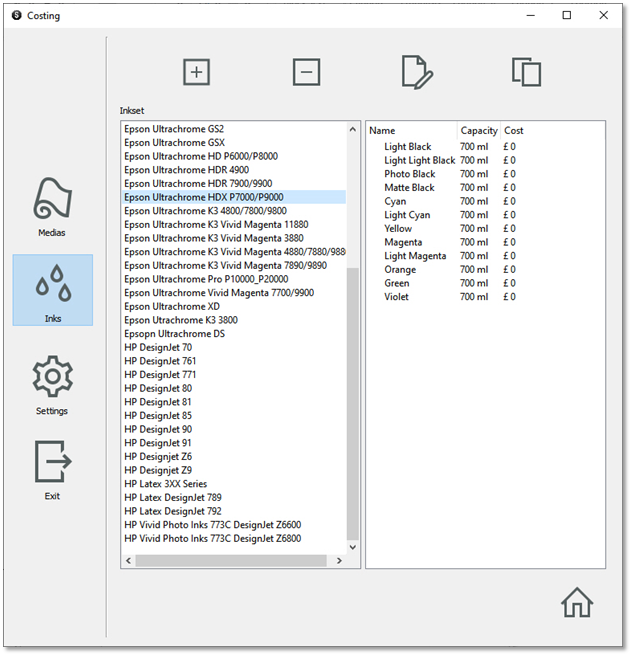
Go through the list and locate your printer’s ink set. When done, to edit the corresponding ink set click on the Edit icon at the top menu or right-click and select the Edit option or simply double click on it.
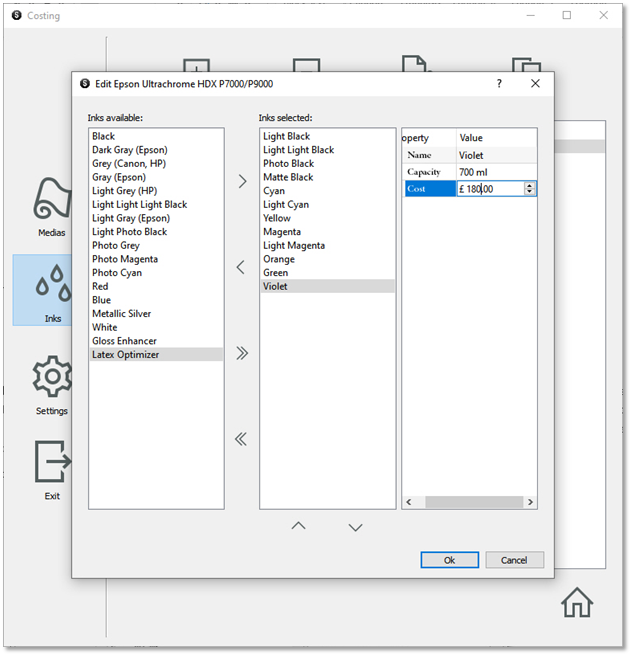
You can change the name, capacity and cost of each Ink. Make sure you enter a cost value for each single Ink by going through all the selected Inks, even if they all have the same cost. The arrows up and down can be used to change the order of selected Inks (no difference in the cost calculation).
The arrows left and right are used to move Inks between Selected and Available lists. Note that only Selected Inks are used in the cost calculation, and that if an Ink is included in the Ink set but is not physically part of the printer, the cost will not be affected. However, if an Ink is missing from your Ink set or if its cost or capacity values are empty, the Ink cost will be computed but the value will be lower than what it should be. After completion, make sure that no values from your Ink set are empty (0) in the table on the right-hand side.
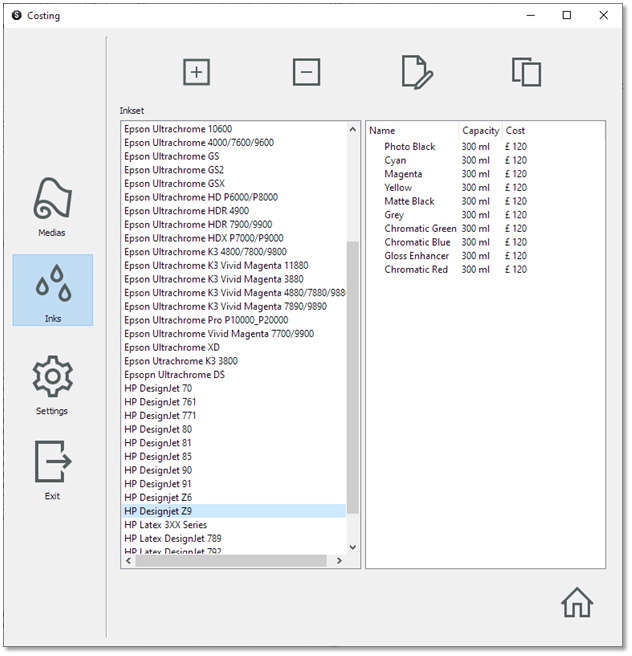
If you are using 2 identical Ink sets but with different capacity or cost values, you have the possibility to use the duplicate function (context menu or top right-hand side button) in order to create a new Ink set with the same Inks automatically added. You will be prompted with the choice of the Ink set name first.
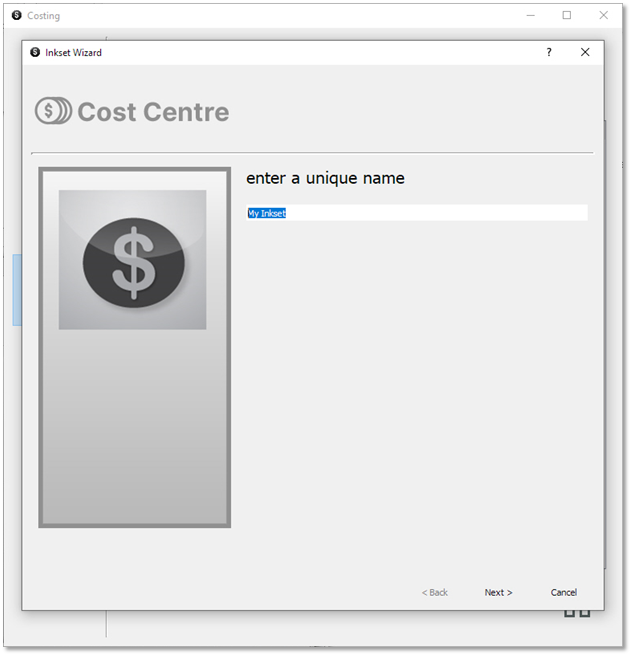
You can add and remove Ink sets with the corresponding buttons + and – on the menu. We recommend you not to remove the Ink sets included by default, and to use the duplicate function in order to avoid losing any information from the default installation. The add functionality allows you to create your own Ink set from scratch, or to switch back to duplicate an existing one by choosing the corresponding preset.