8.2.2.1.3. Image Editor
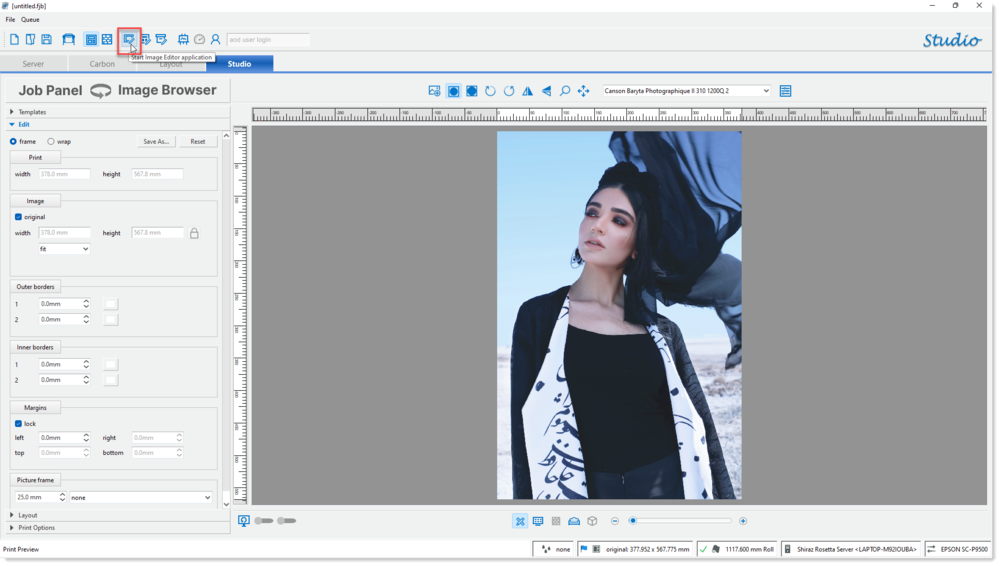
Studio client application includes a simple image editor module for editing of images if required. This module can be launched at anytime by clicking on its icon on the main toolbar.
The Image Editor module will now be launched with the current image loaded (colour managed) and ready for editing.
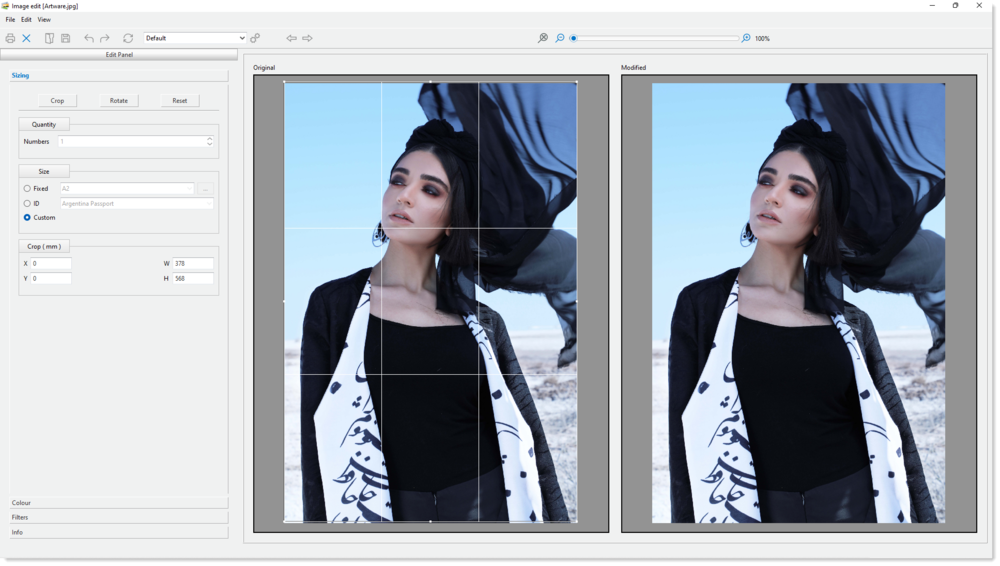
As can be seen above the screen is split into two sections, familiar 'before & after' format. The default tab, Sizing, is where you can crop and size the image as needed. This includes free format sizes or based on a predefined aspect ratio and paper size. Additionaly the ID option enables you to crop passport/ID type images to the required format and layout for the countries listed.
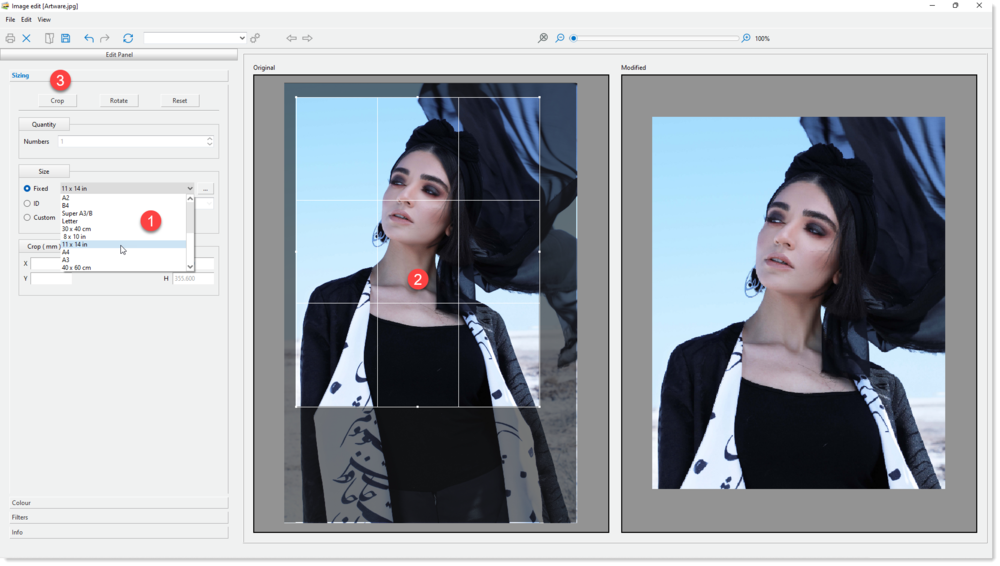
In the example above we have cropped an area of the image using a fixed crop ratio (11 x 14) and the modified section shows the actual result.
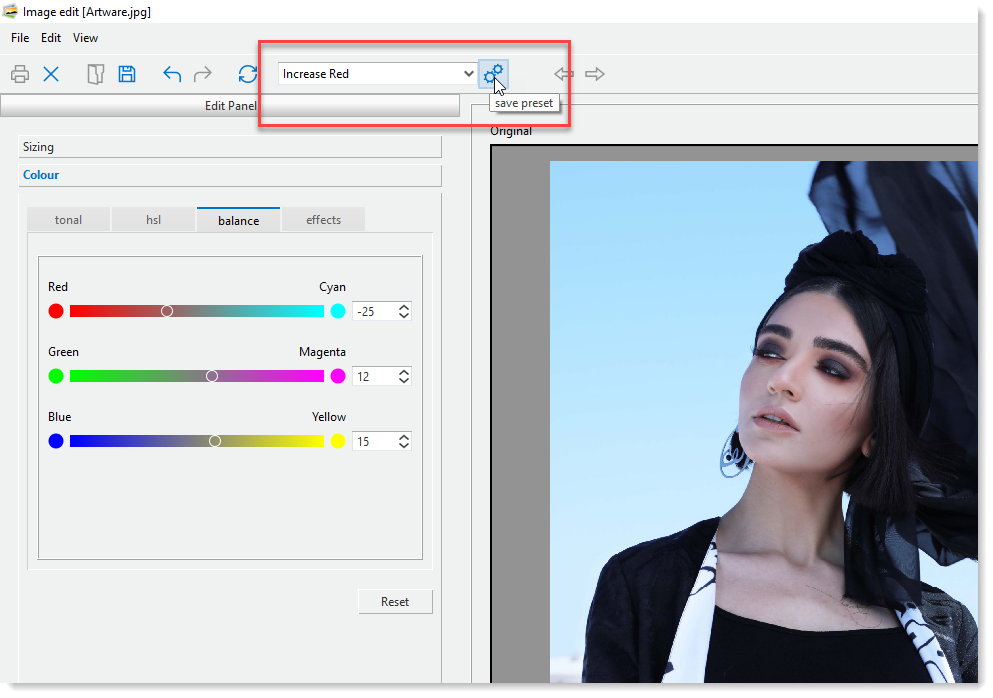
To actually edit the colours and tones of the image as well as apply various filters to it there are various tools at your disposal.

These changes are shown live as they are applied and can be undone or reset to the original state. All edits applied can be saved under a Preset name that can then be applied to any other images.
Once you have finished with all the editing you can then click on the Save icon on the toolbar to save the edited image. The original image is left untouched.
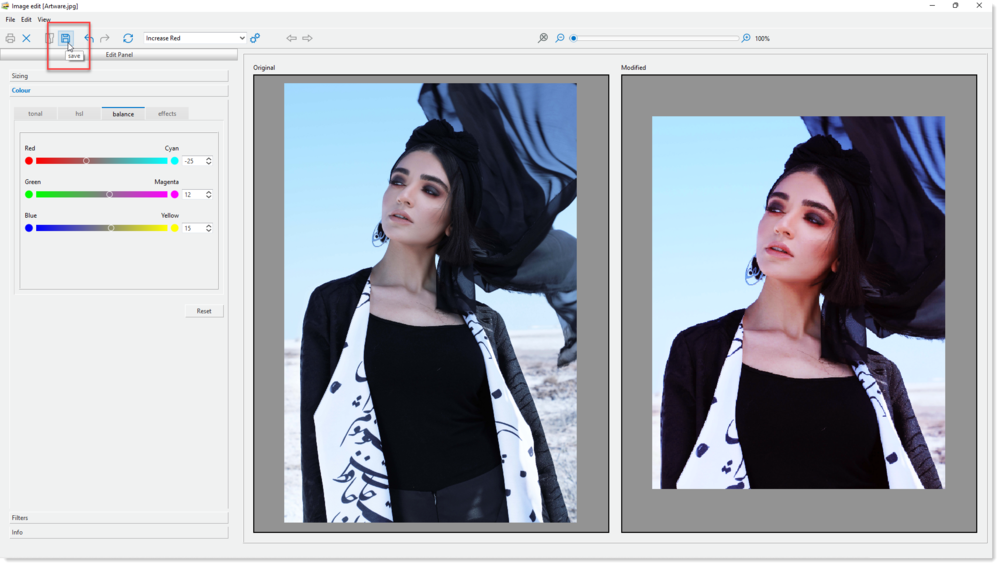
The system will automatically assign a name based on the original name and _copy1 appended to it. Click on the windows close icon to end the session and go back to the Studio client.
The system will now replace the original image with the modified one.