
8.2.2.1.4. Frame Mode
As can be seen, highlighted below, there are two modes of options available here, namely frame and wrap. For canvas gallery wrap creation select the wrap mode and for any other job type the frame one.
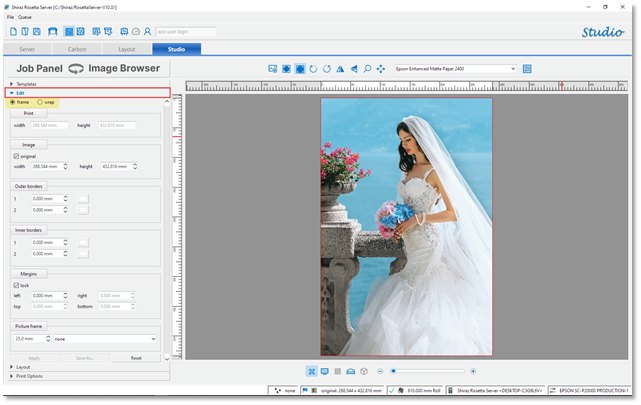
The job parameters available in the frame mode are divided into several groups:
-
Print - the overall size of the print is shown here and is for information only.
-
Image - the required image size can be set here. If the lock is on, then the image aspect ratio is maintained.
-
Outer borders - up to two borders that will be added to the outside boundary of the image can be set here. Their dimensions and colour can be configured here.
-
Inner borders - up to two borders from the image boundary inwards can be set here. Their dimensions and colour can be configured here.
-
Margins - additional white space around the image is set here. If lock is on, then a uniform space is added.
-
Picture frame - select from the list of available picture frames and the required size for display purpose only.
To save the current settings as a photopack template in the system click on the Save As button.
To reset all the parameters to their default values, click on the Reset button.
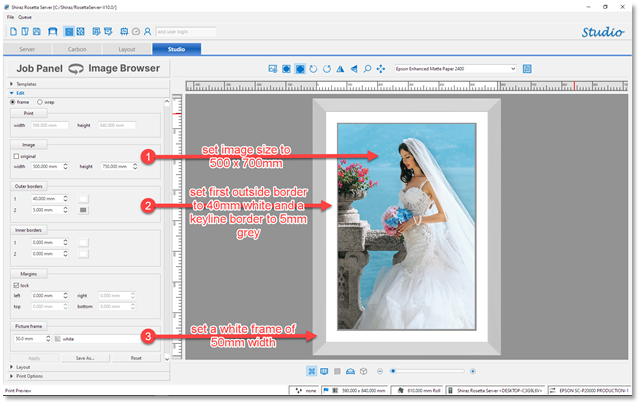
The example below demonstrates a set of parameters and their effects.
Additional editing options and tools for placement and scaling of the design are available and located on the Toolbar as indicated below.
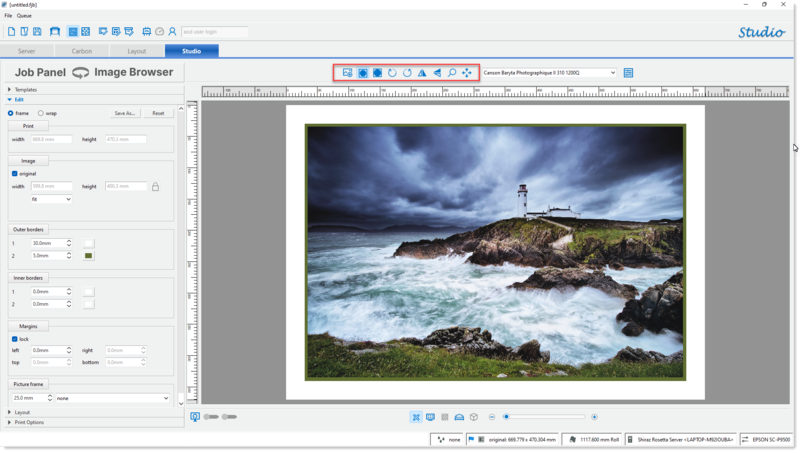
You can employ these tools to rotate, mirror, zoom and pan the image within the image boundary. In the example below we have used the zoom & pan tools to zoom in to the required area and used the pan (move) tool to adjust the placement of the image within the frame area.
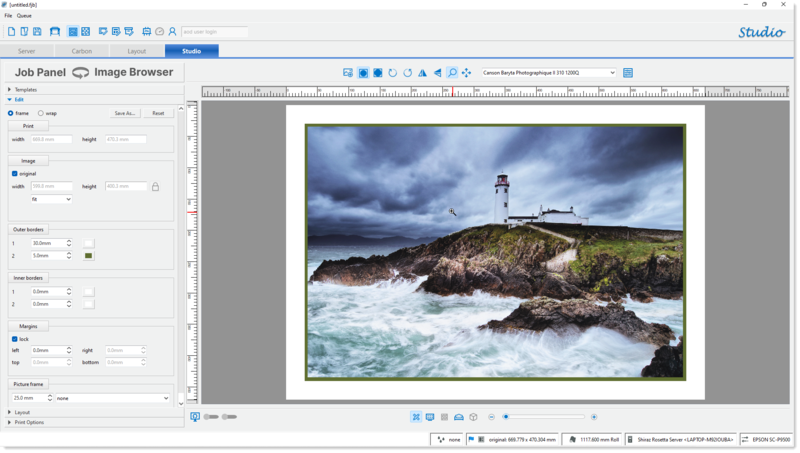
To zoom down the image right-click when in zoom mode (magnifier icon). The icon will now change to minus sign, continue clicking till the desired zoom factor is achieved.