
14.2. Configuration
In the next step you would need to assign one or more queues on the Server as Cloud Queue in order that they can accept and process AOD jobs. Each cloud queue has to be assigned one media profile that can be given an alias to better identify it. This means that if you require your AOD jobs to be printed on 3 different type of media then you would require to create three corresponding cloud queues that can all be connected to one or more printers.
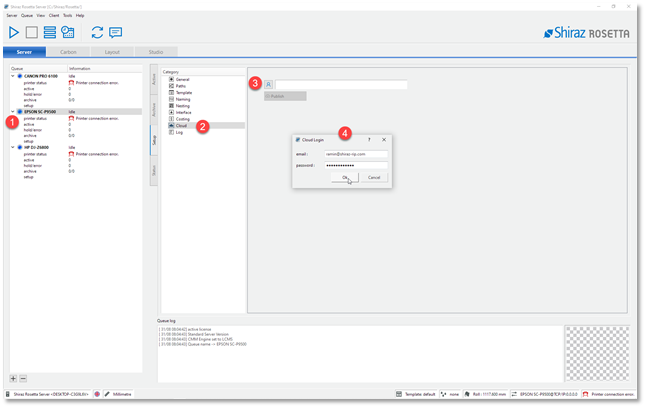
To setup the cloud queues, you can either allocate an existing one on the Server or create a new one that can then be assigned as one for the incoming AOD jobs. Go to the Setup section of the queue and then select the Cloud category. Now type in your newly created AOD credential to login to the queue.
Once you have logged-in successfully click on the Publish (Step 1) button to configure the media for this queue.
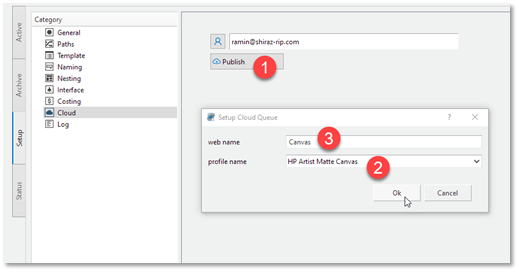
In Step 2 select the required media profile from the list of available profiles for the printer model. In the Step 3 you need to type in an alias for the select media profile that makes it easier and more customer friendly to refer to. Now click the OK button to finalize this stage and publish your cloud queue.
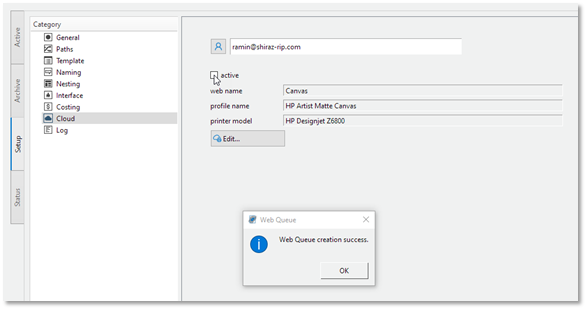
In the final stage you will get a confirmation and all relevant parameters will be displayed. Now to put the cloud queue in active mode so that it can receive cloud AOD jobs click on the Active checkbox as shown below.
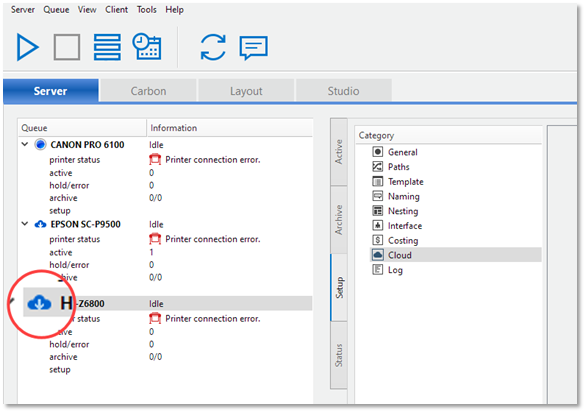
Once the cloud queue has been activated you should see a blue cloud icon on the queue name to indicate that the Server and queue are ready to receive cloud jobs.
We are now ready to use the various tools available to create and submit our AOD jobs to the allocated queues on the Server for printing.